Pictures from Recitation
Process
Today is the day to go big. Given my final project requires a physical drawer, I decided to take this opportunity to design and build it.
Create CAM
Thanks to Anthony for a comprehensive video about creating CAM step by step.
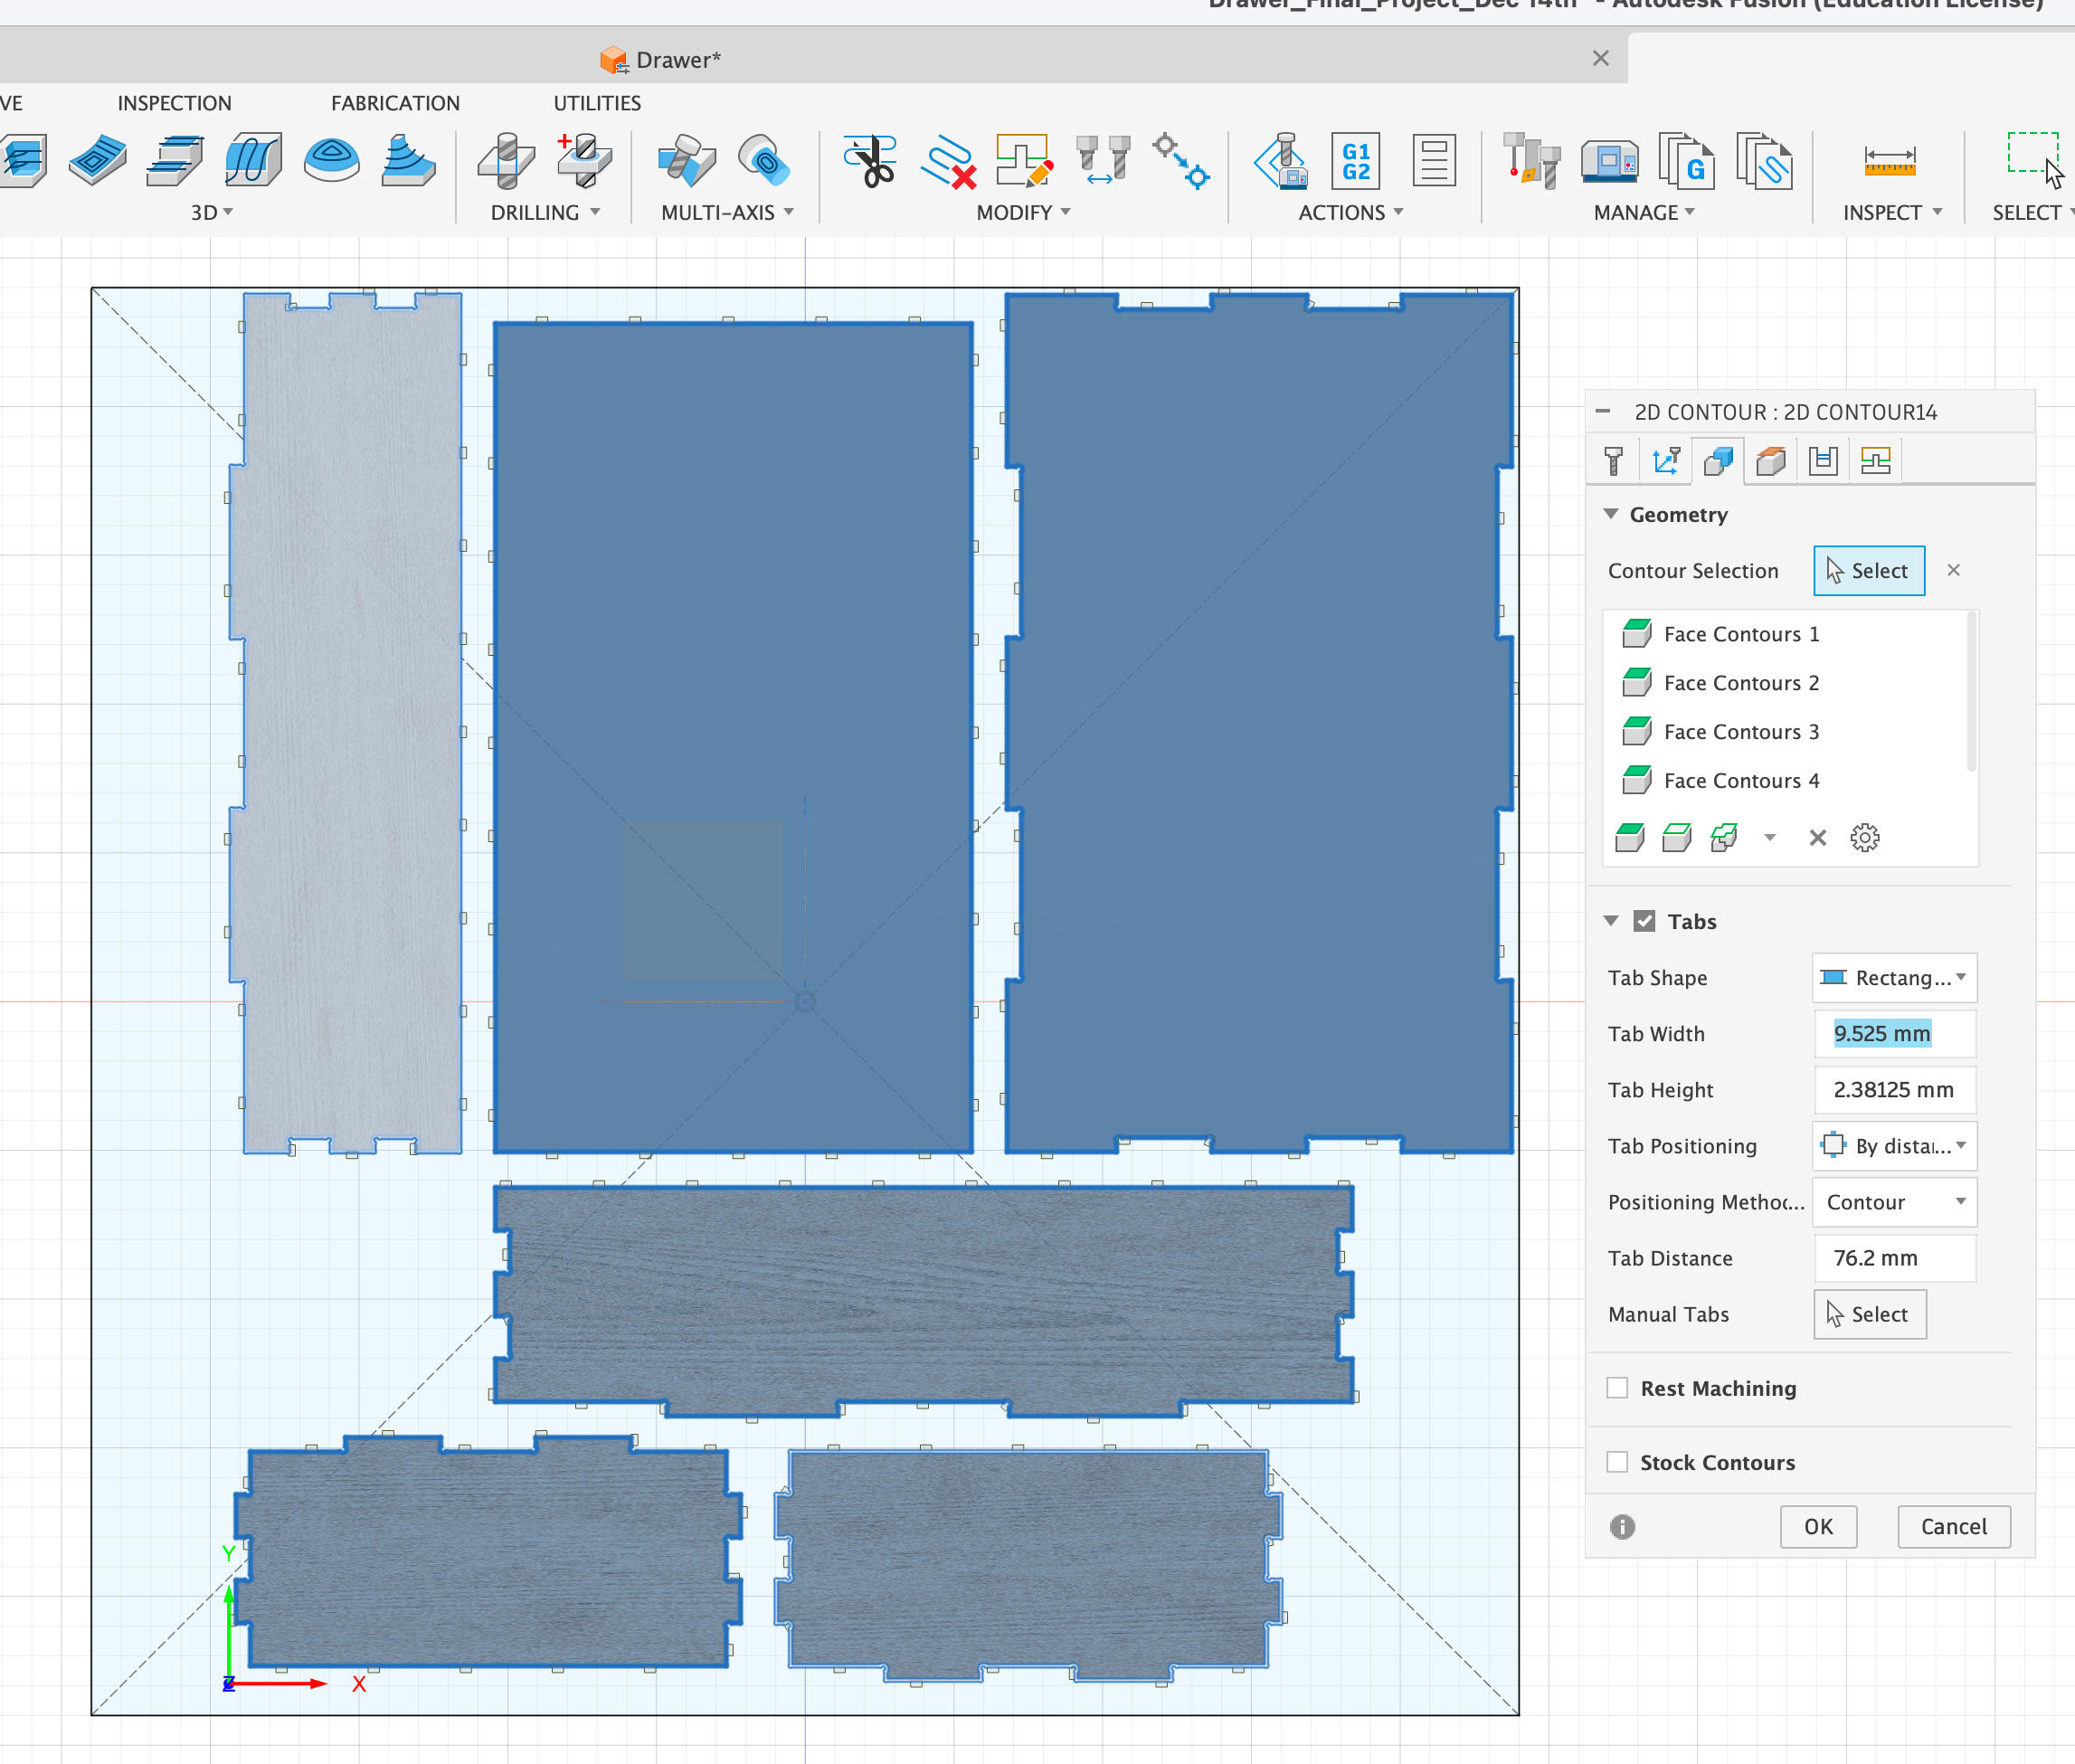
First, I learned the history of CNC and how the rounded tool is both powerful and problematic. This is where the Fusion add-on tool comes in. The add-on allows up to 60 days of free use and enables creating dogbone features for various design patterns.
Dogbone reference on Fusion page: Here
Nifty Dogbone reference on their website: Here
I designed my drawer in Fusion 360, using the dogbone feature to create the joints. One helpful YouTube video really clarified the entire design process.
Design and CAM Preparation
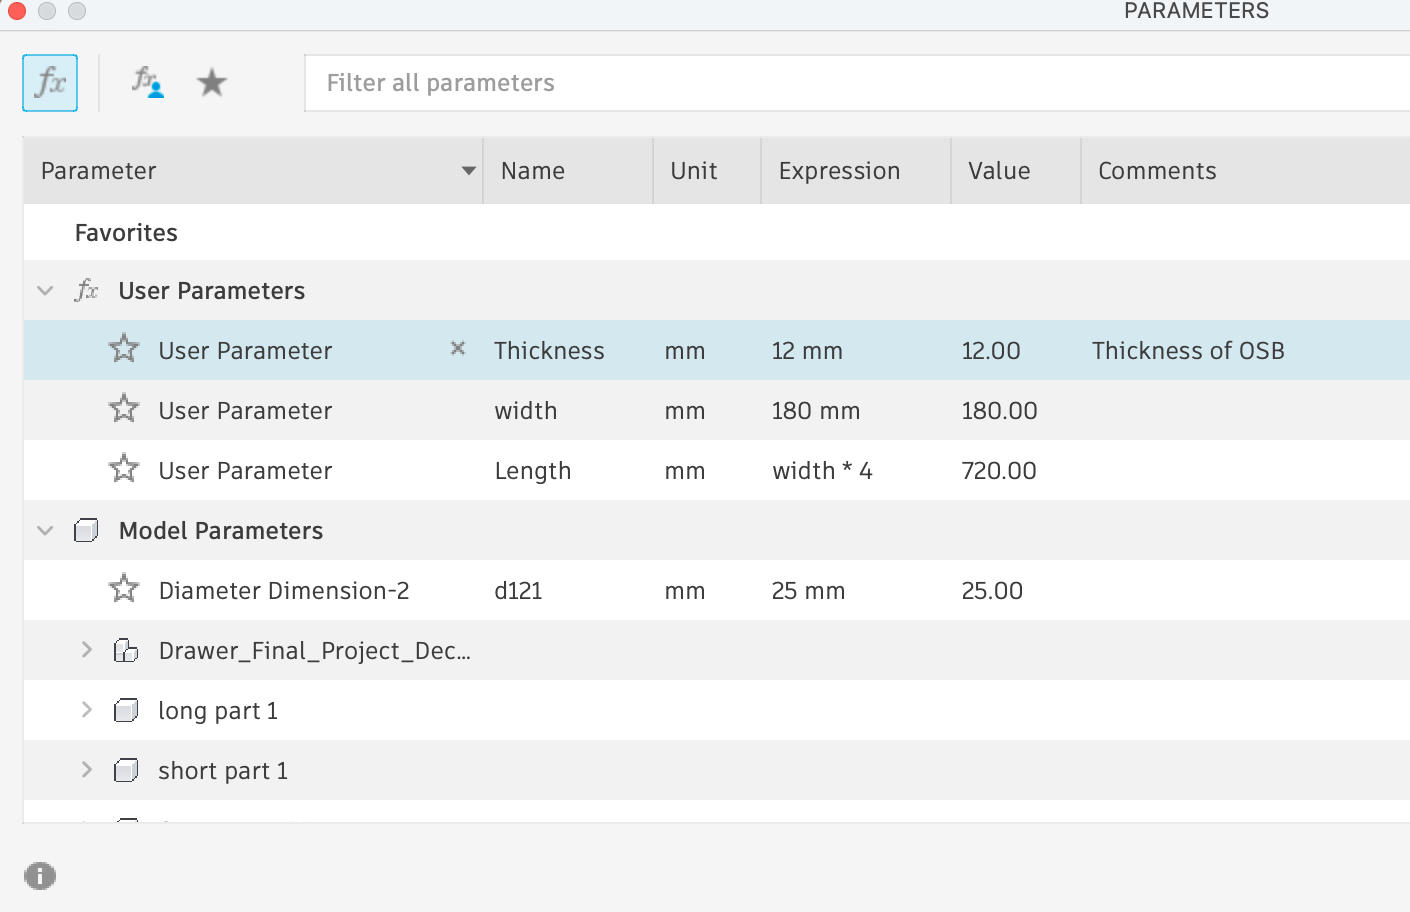
Avoided hard-coded numbers for dimensions. This practice is powerful but requires careful attention to constraints—one missing constraint can throw off the entire design if parameters change later.

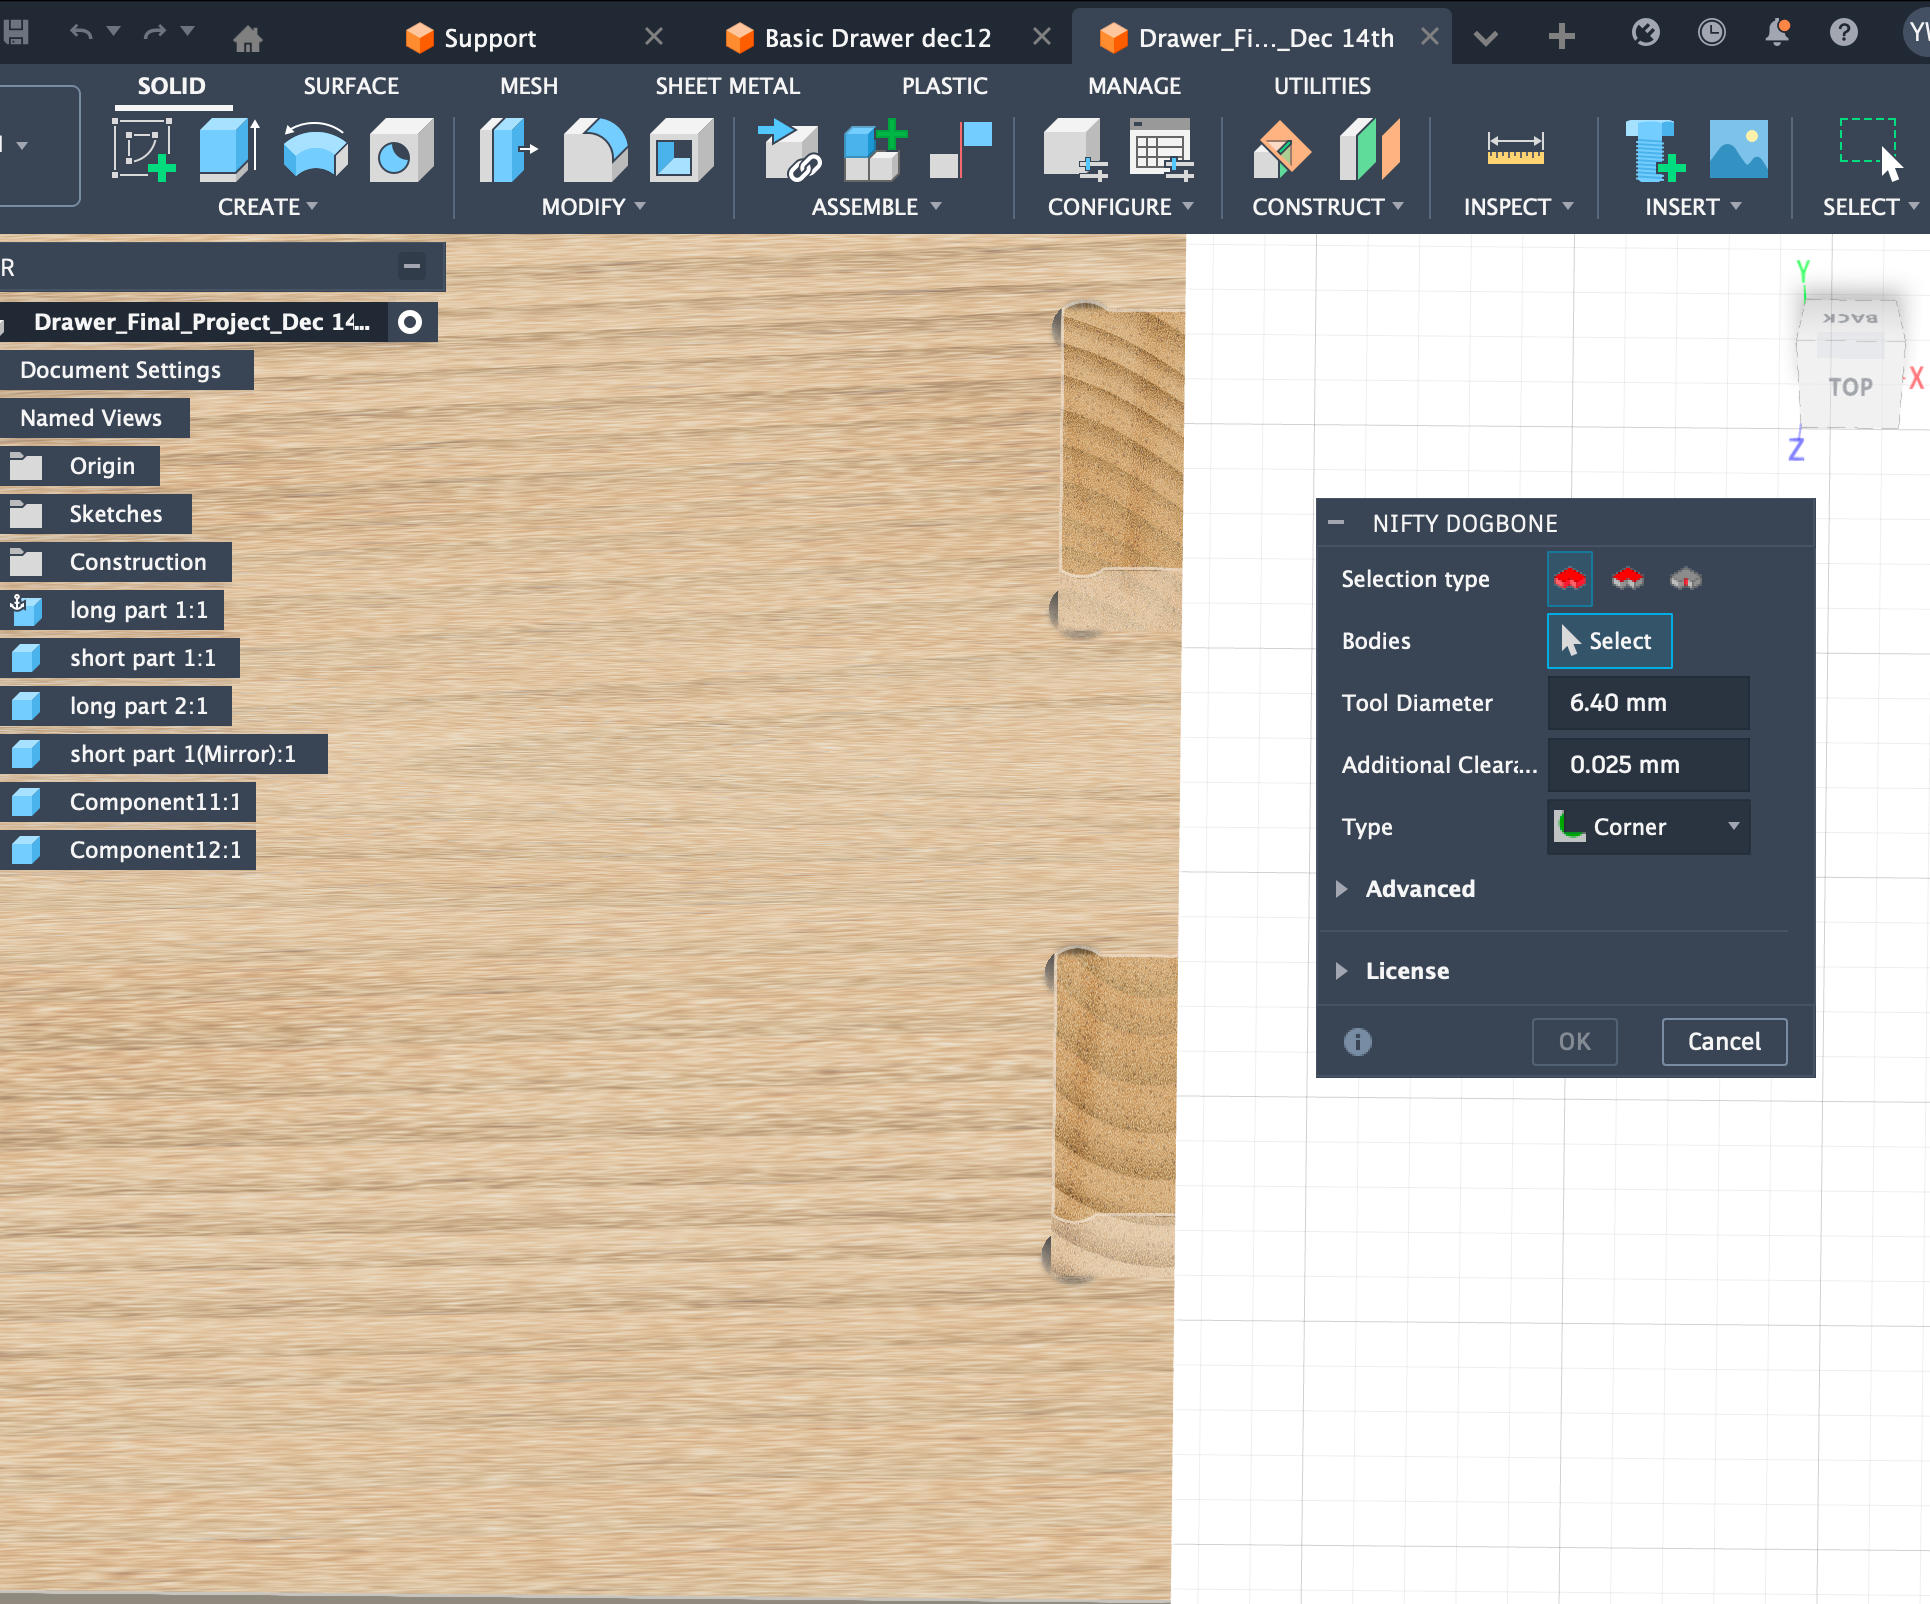
Very easy to use. Set the diameter to 0.62 cm (0.25 inches).
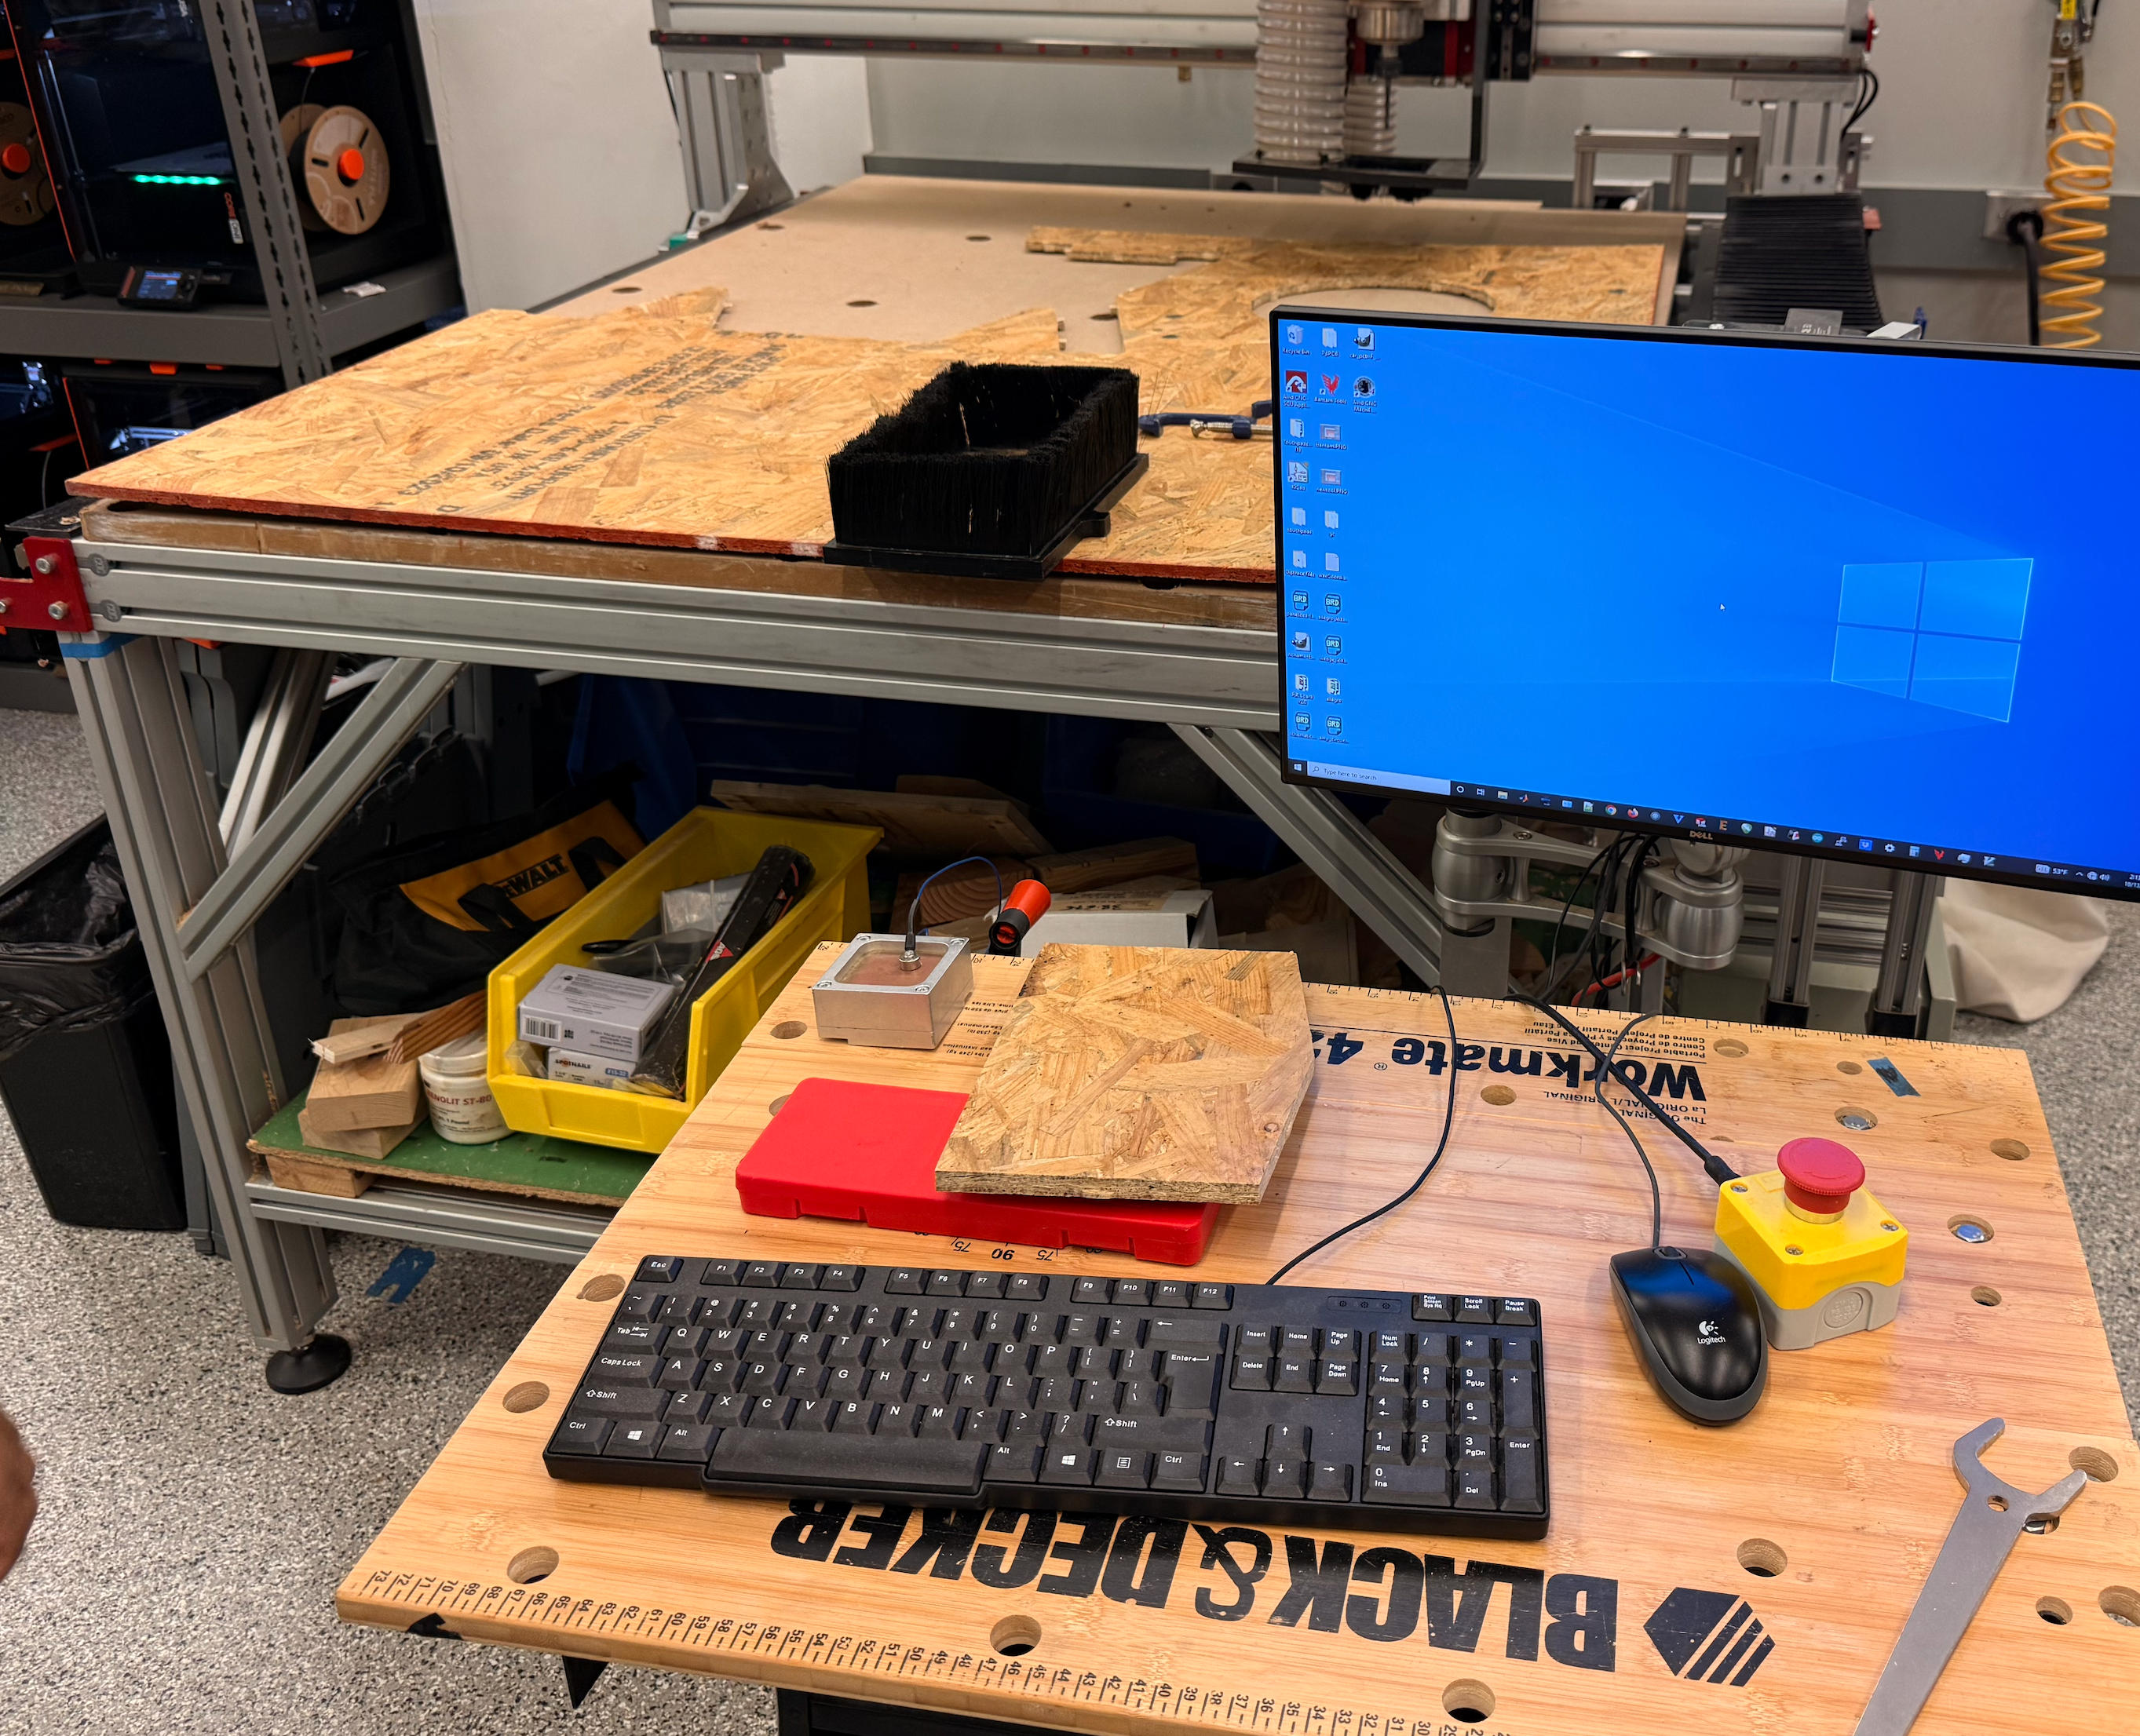
CNC Preparation and Cutting
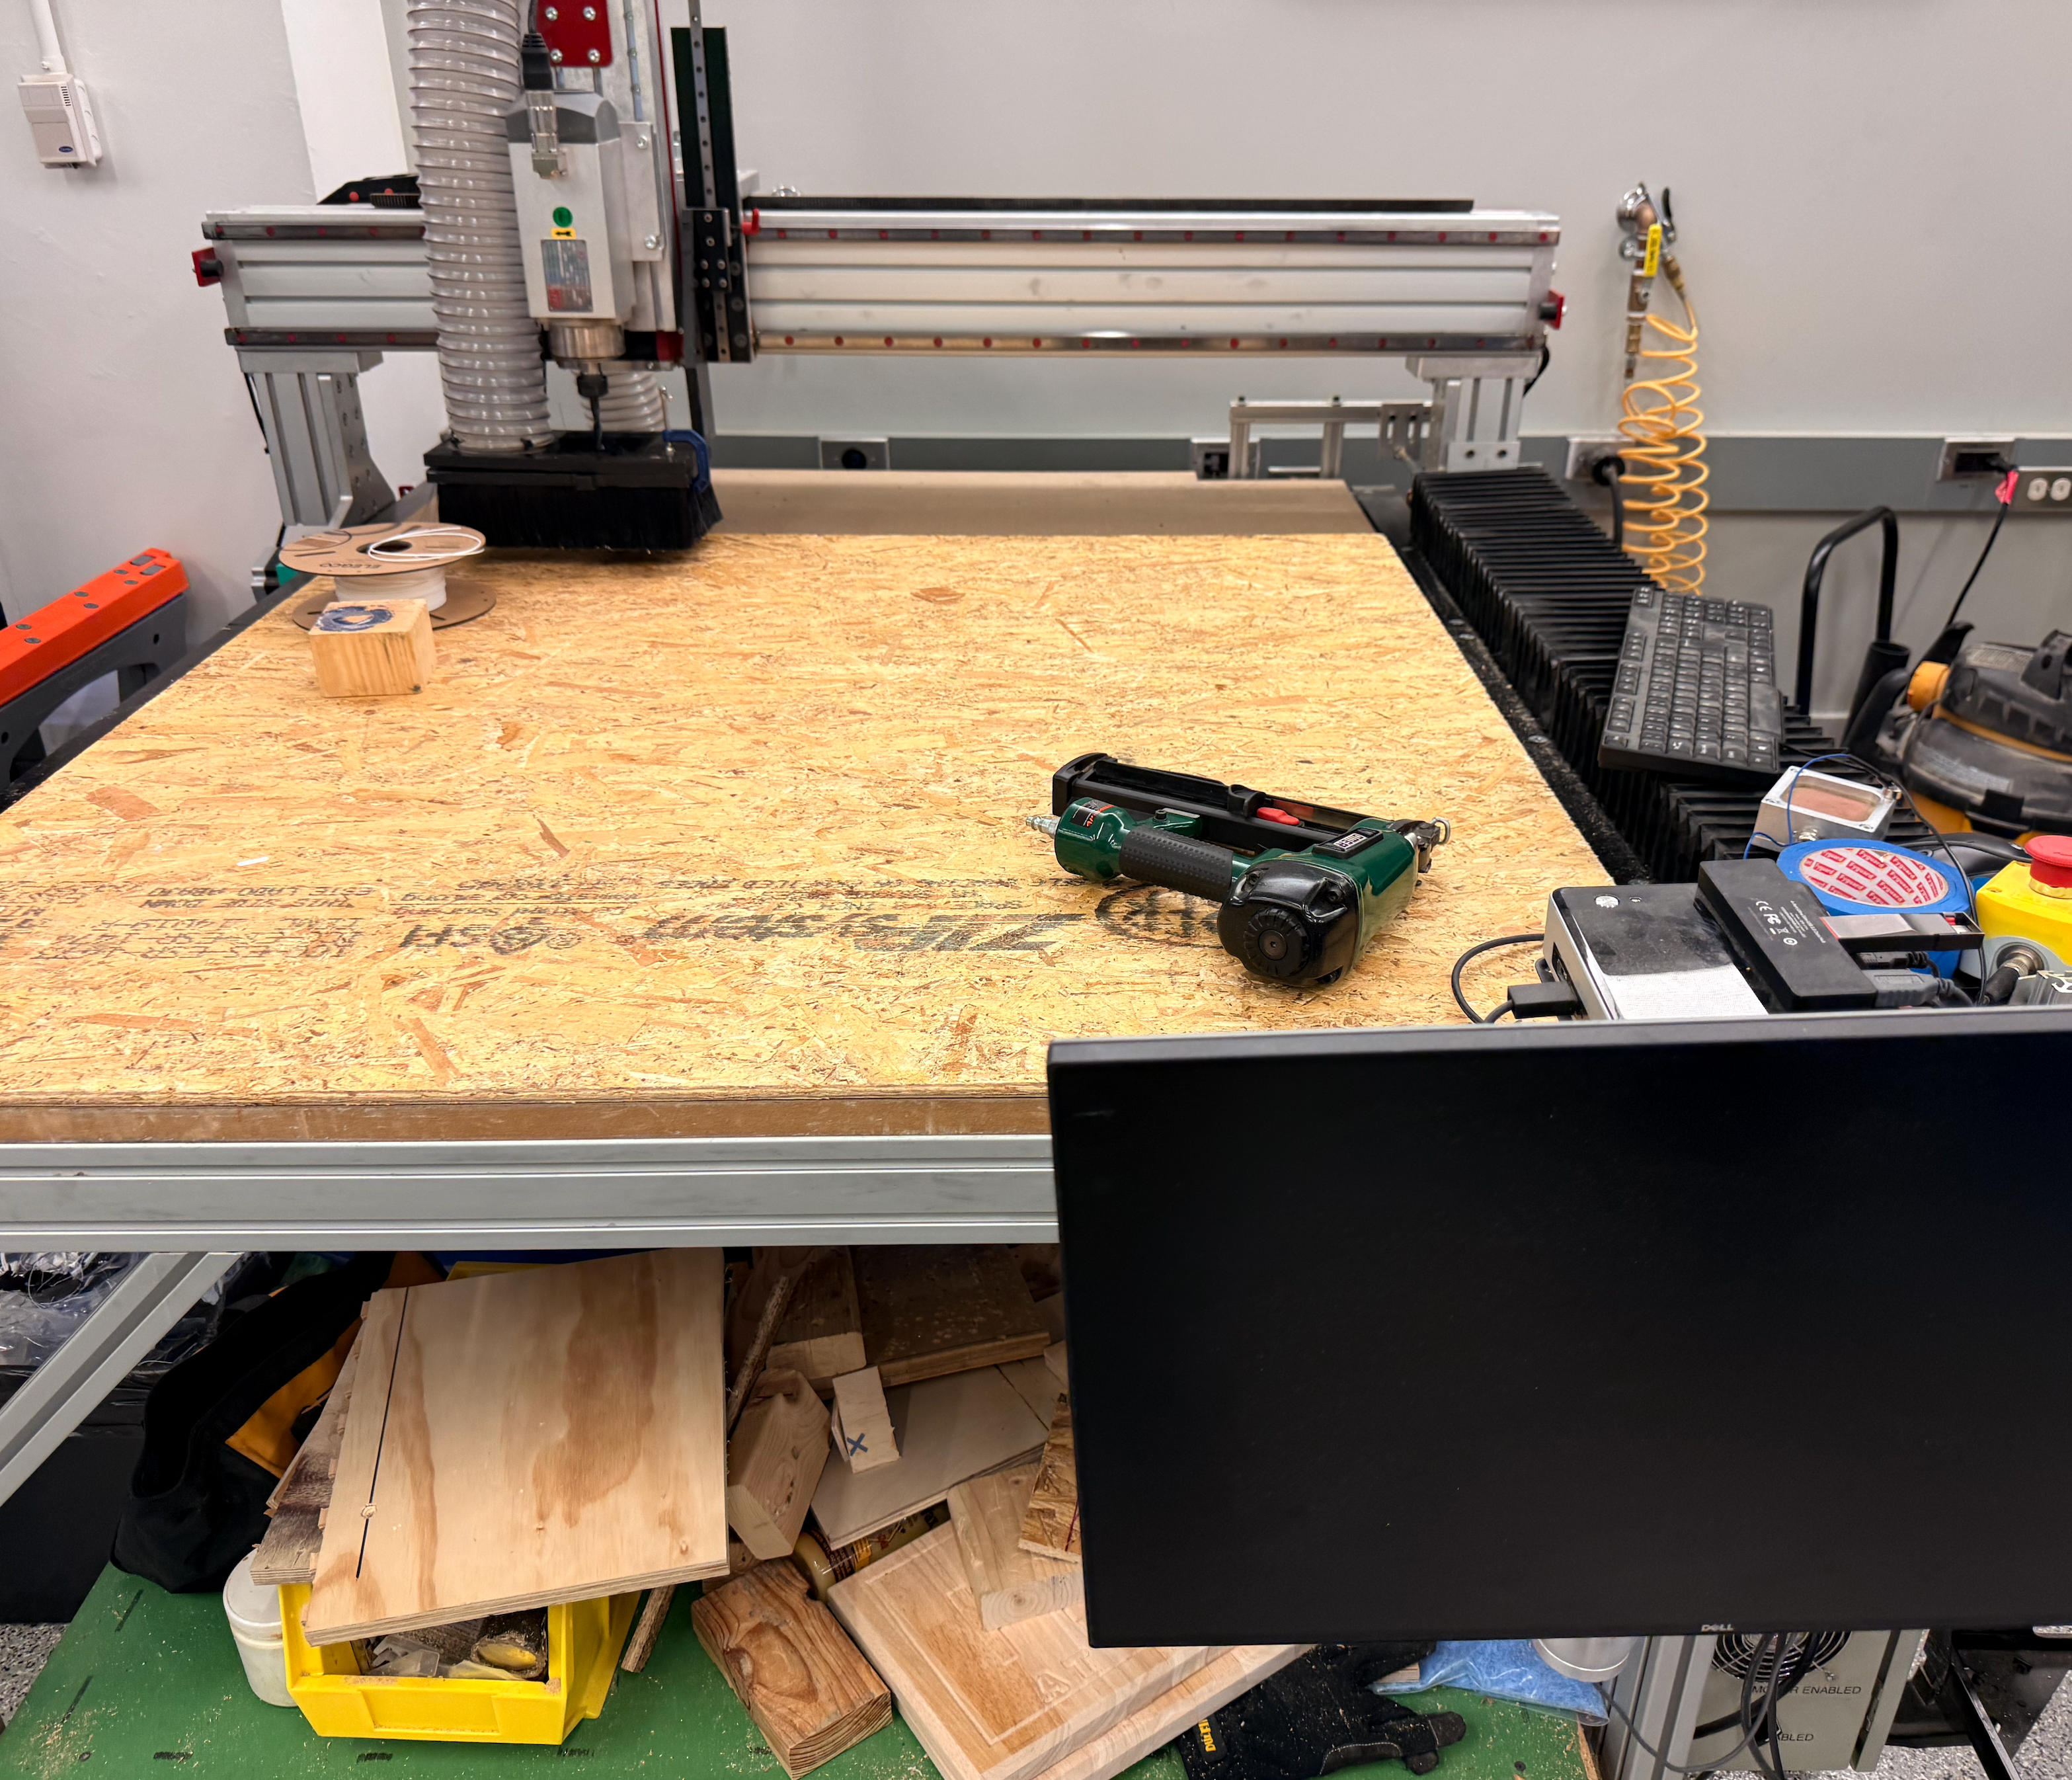
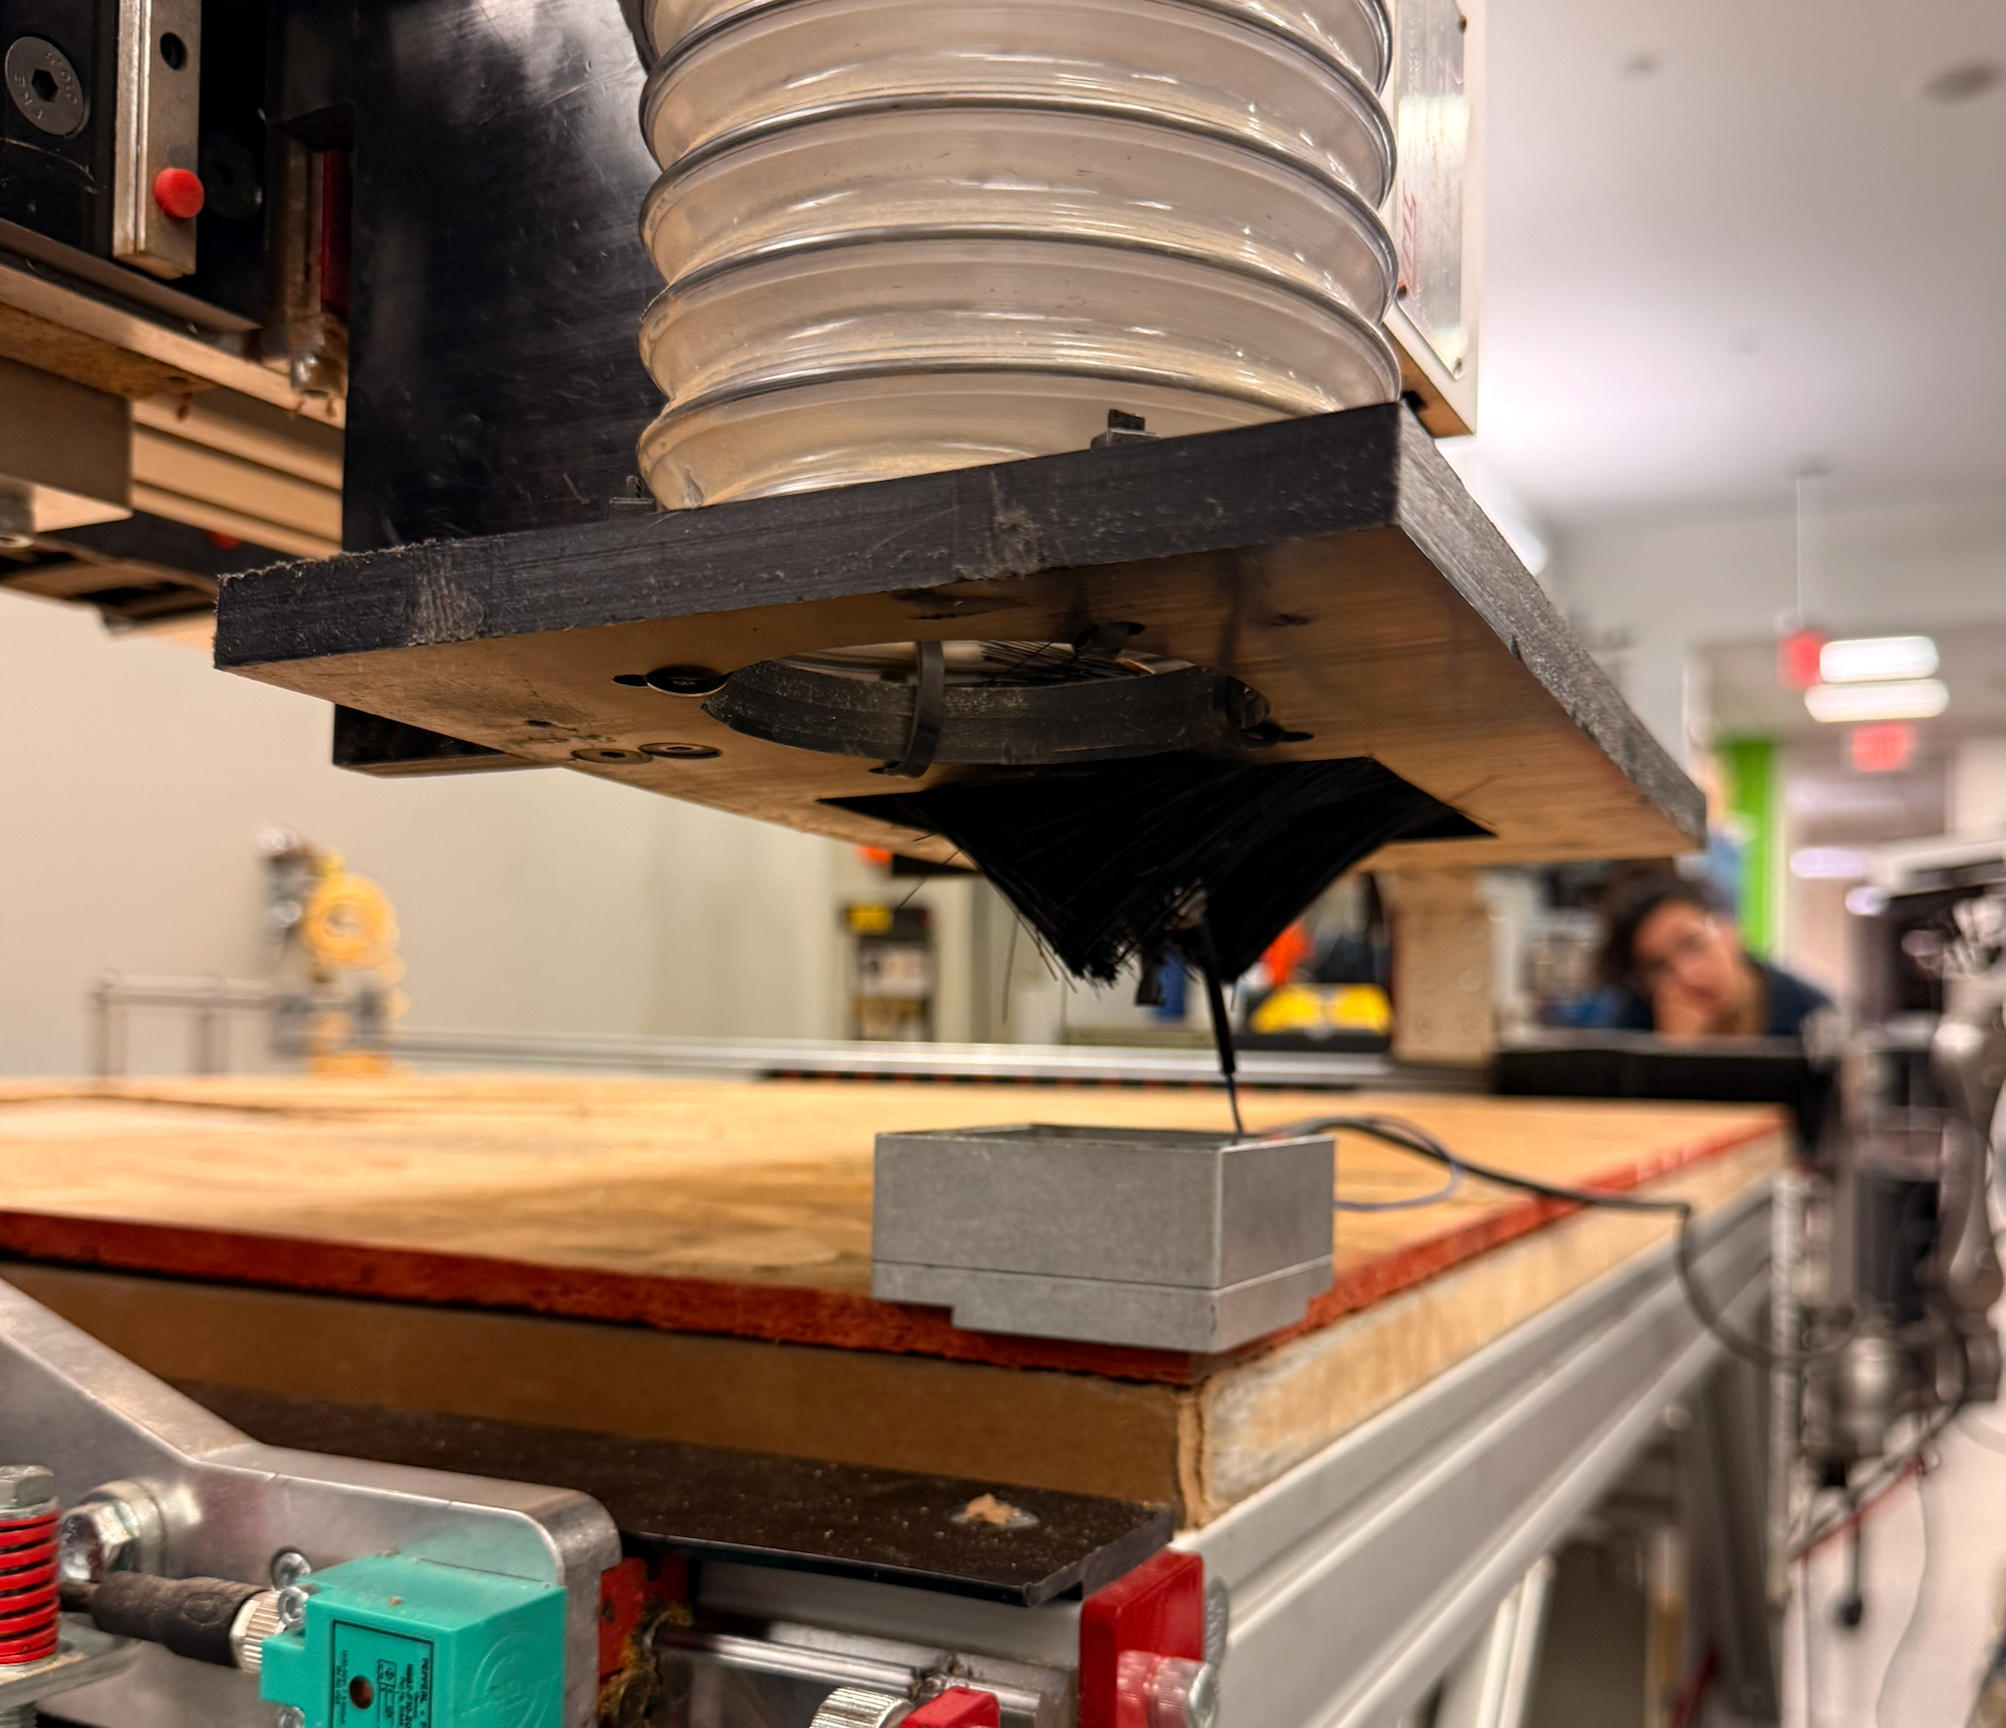
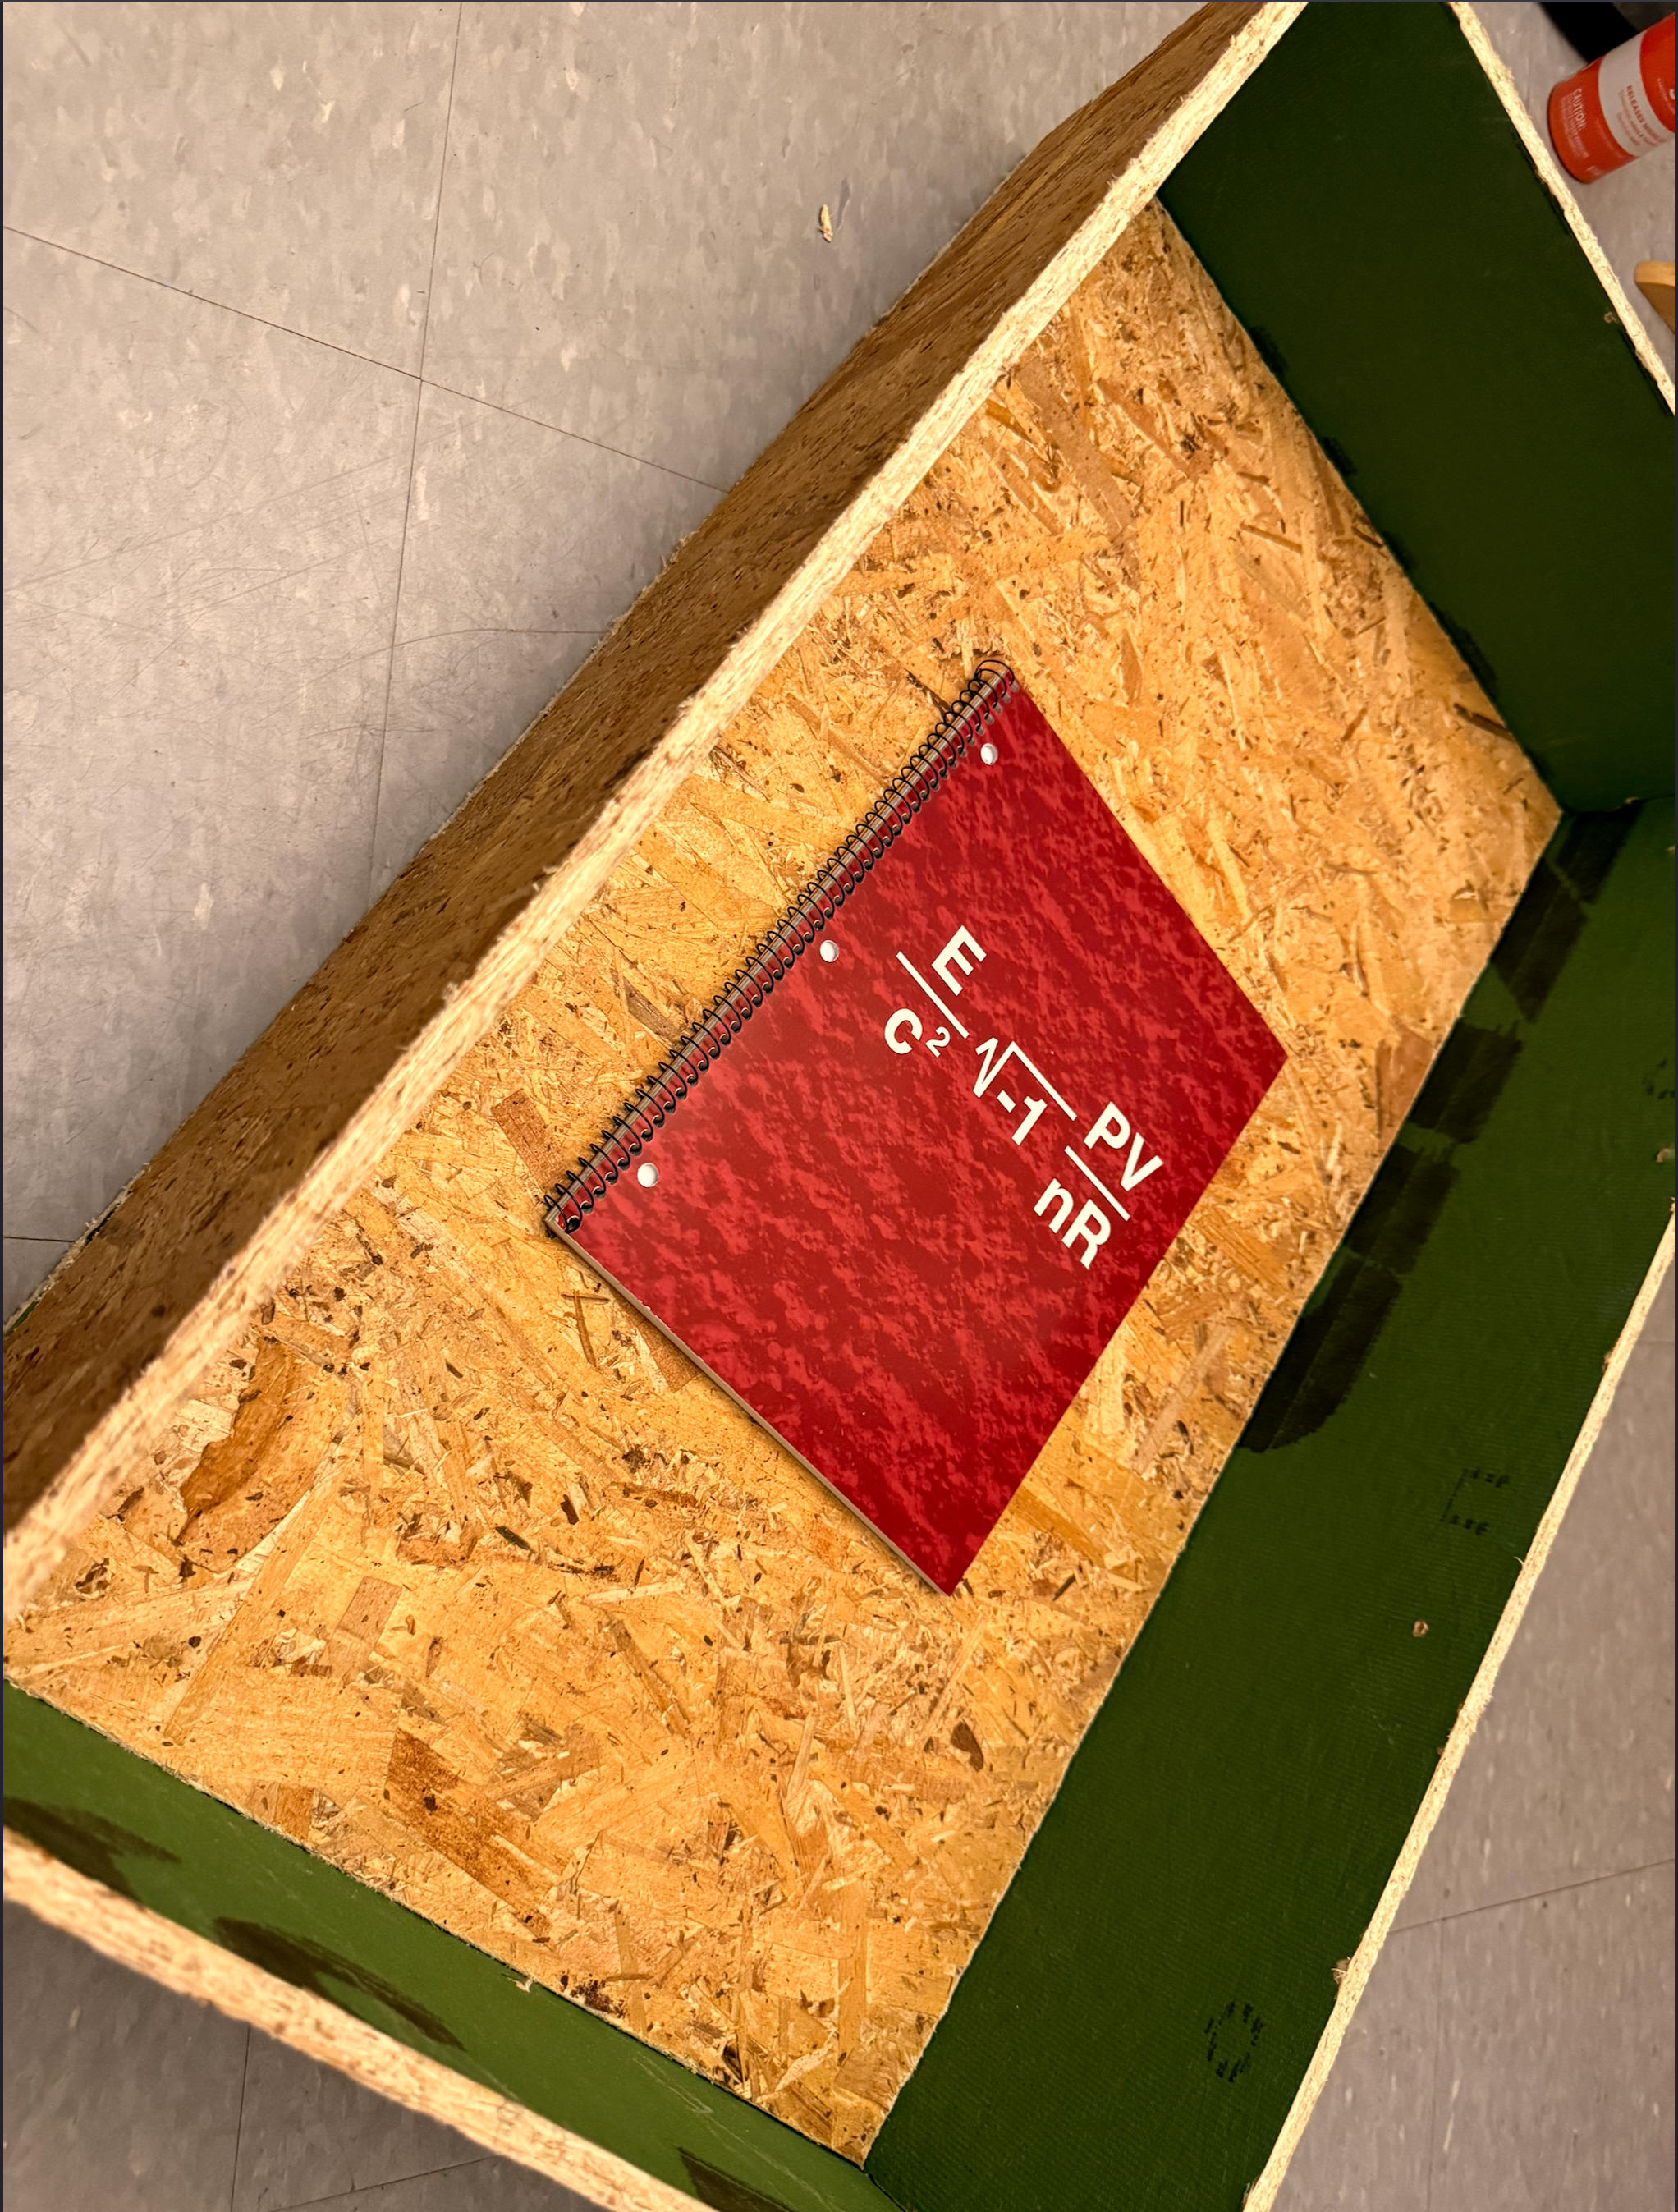
Fix the OSB (Oriented Strand Board) to the table.
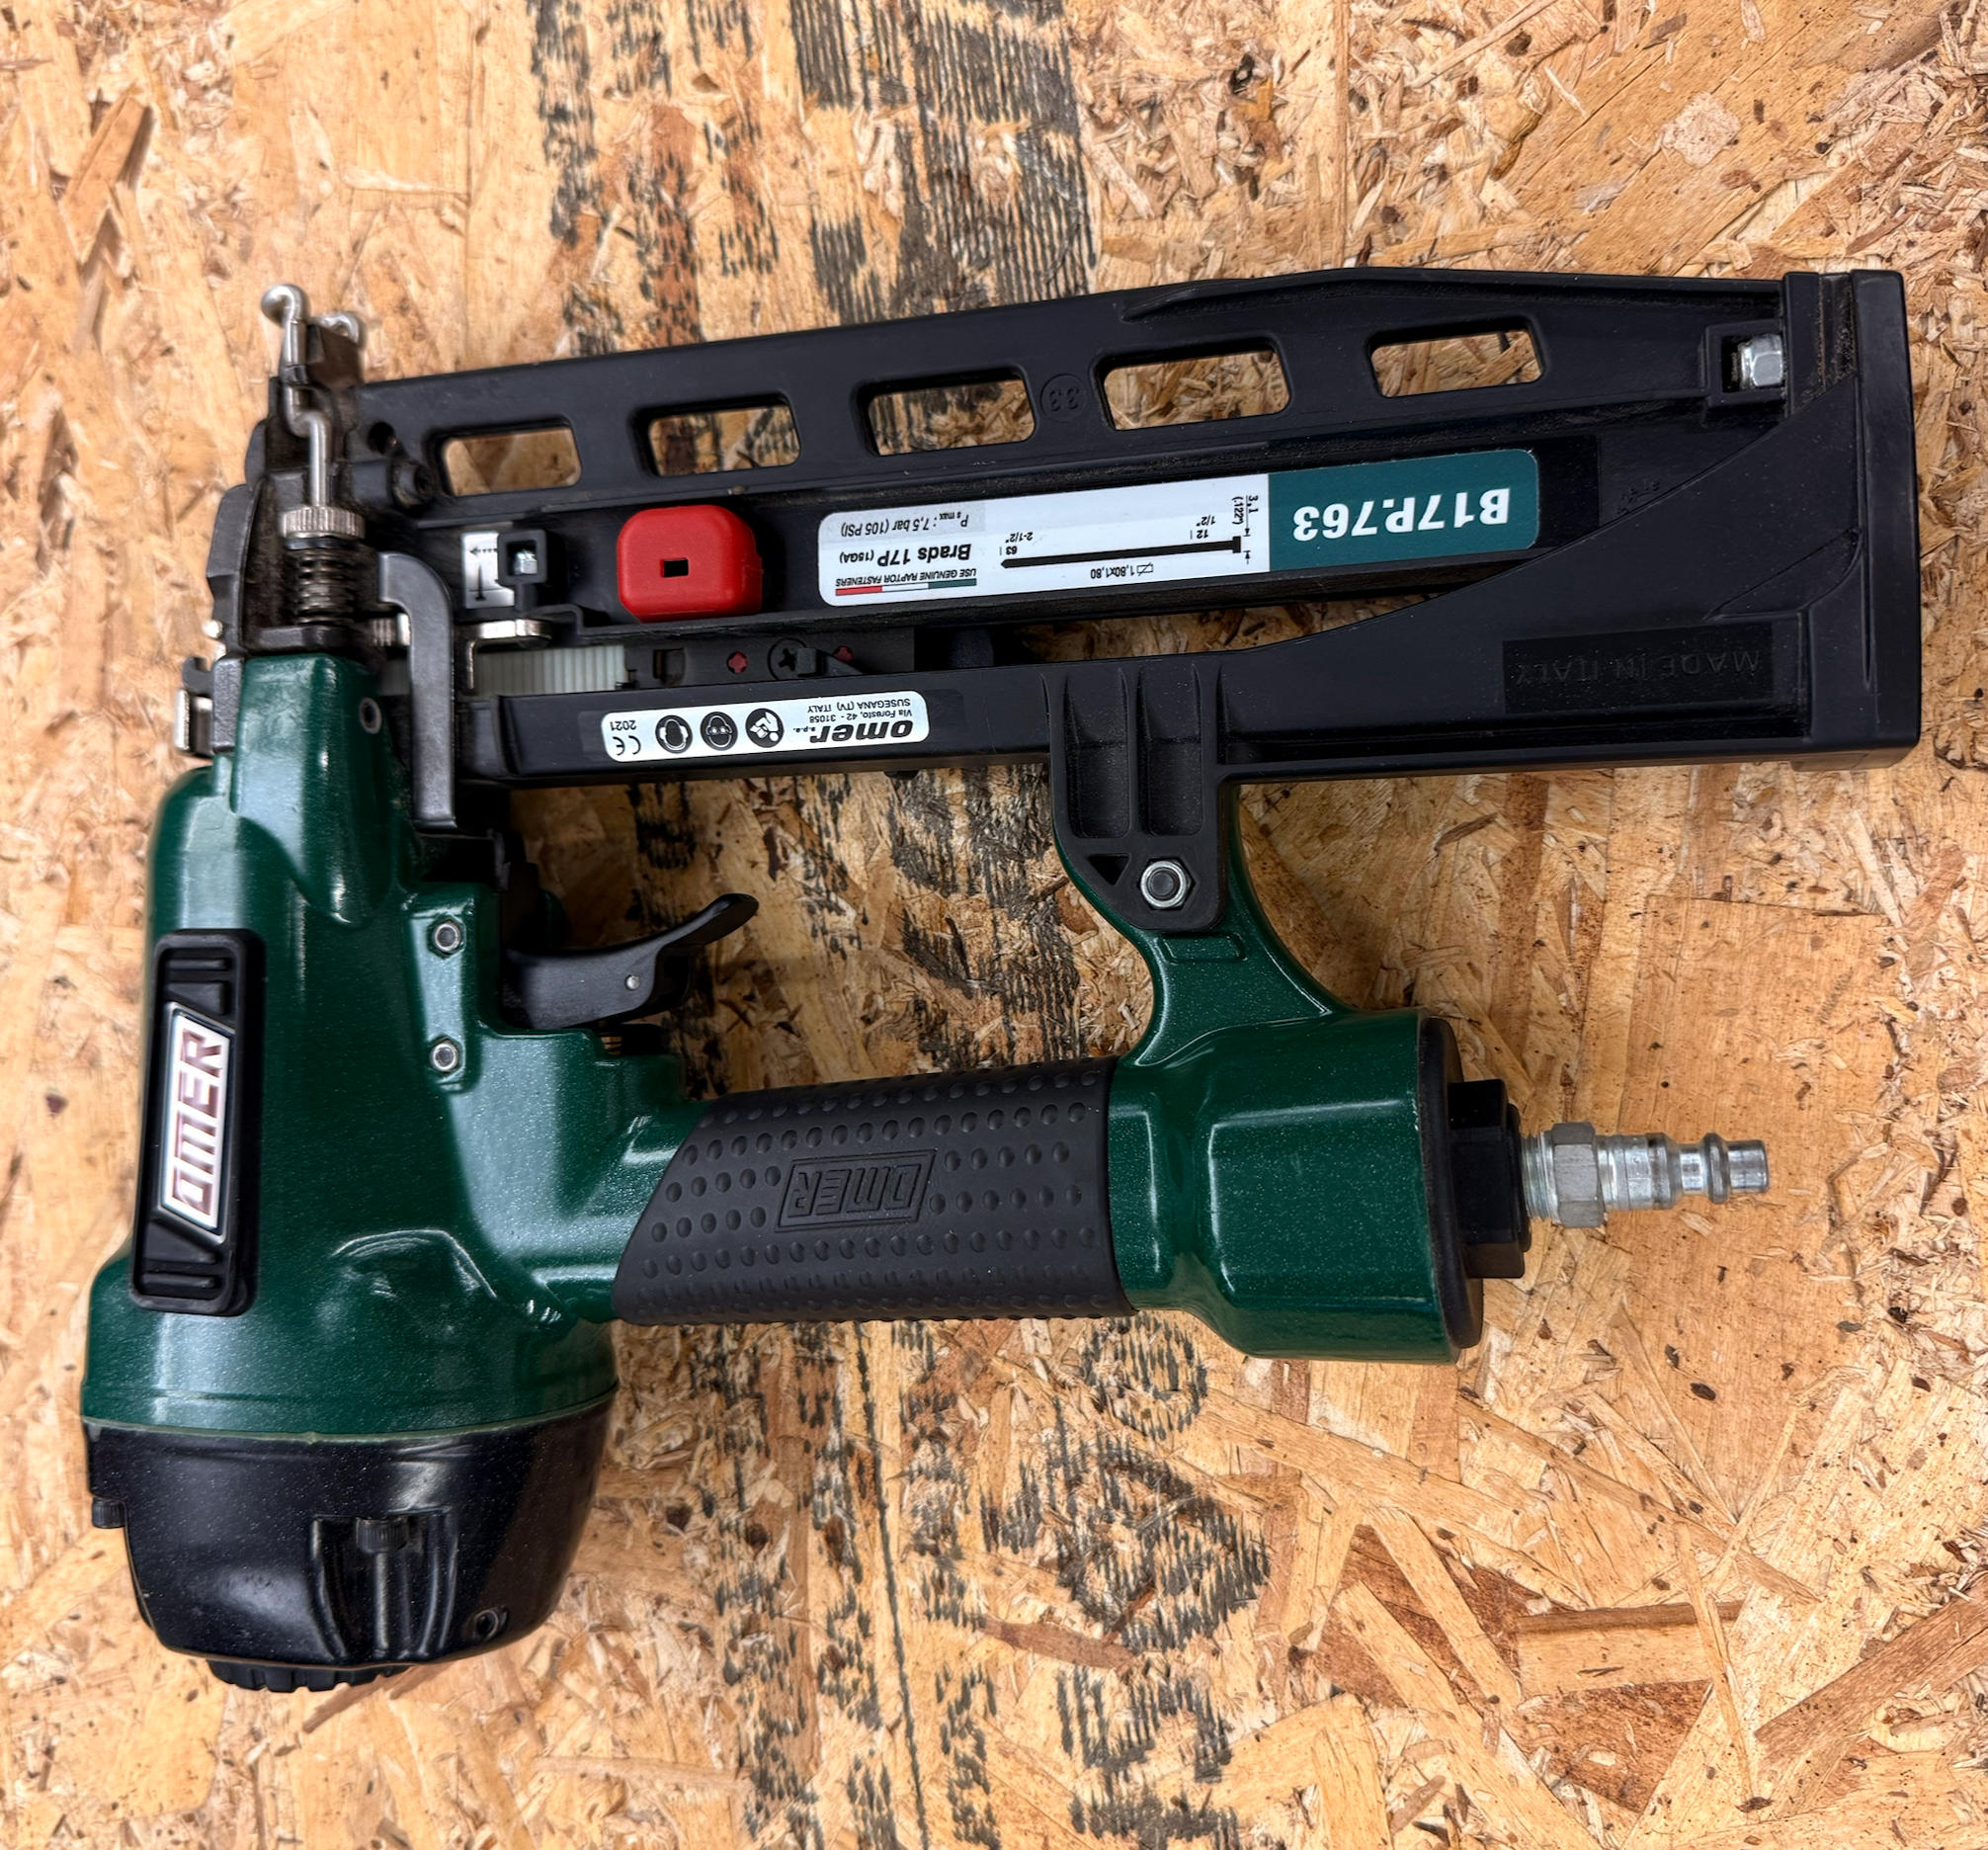
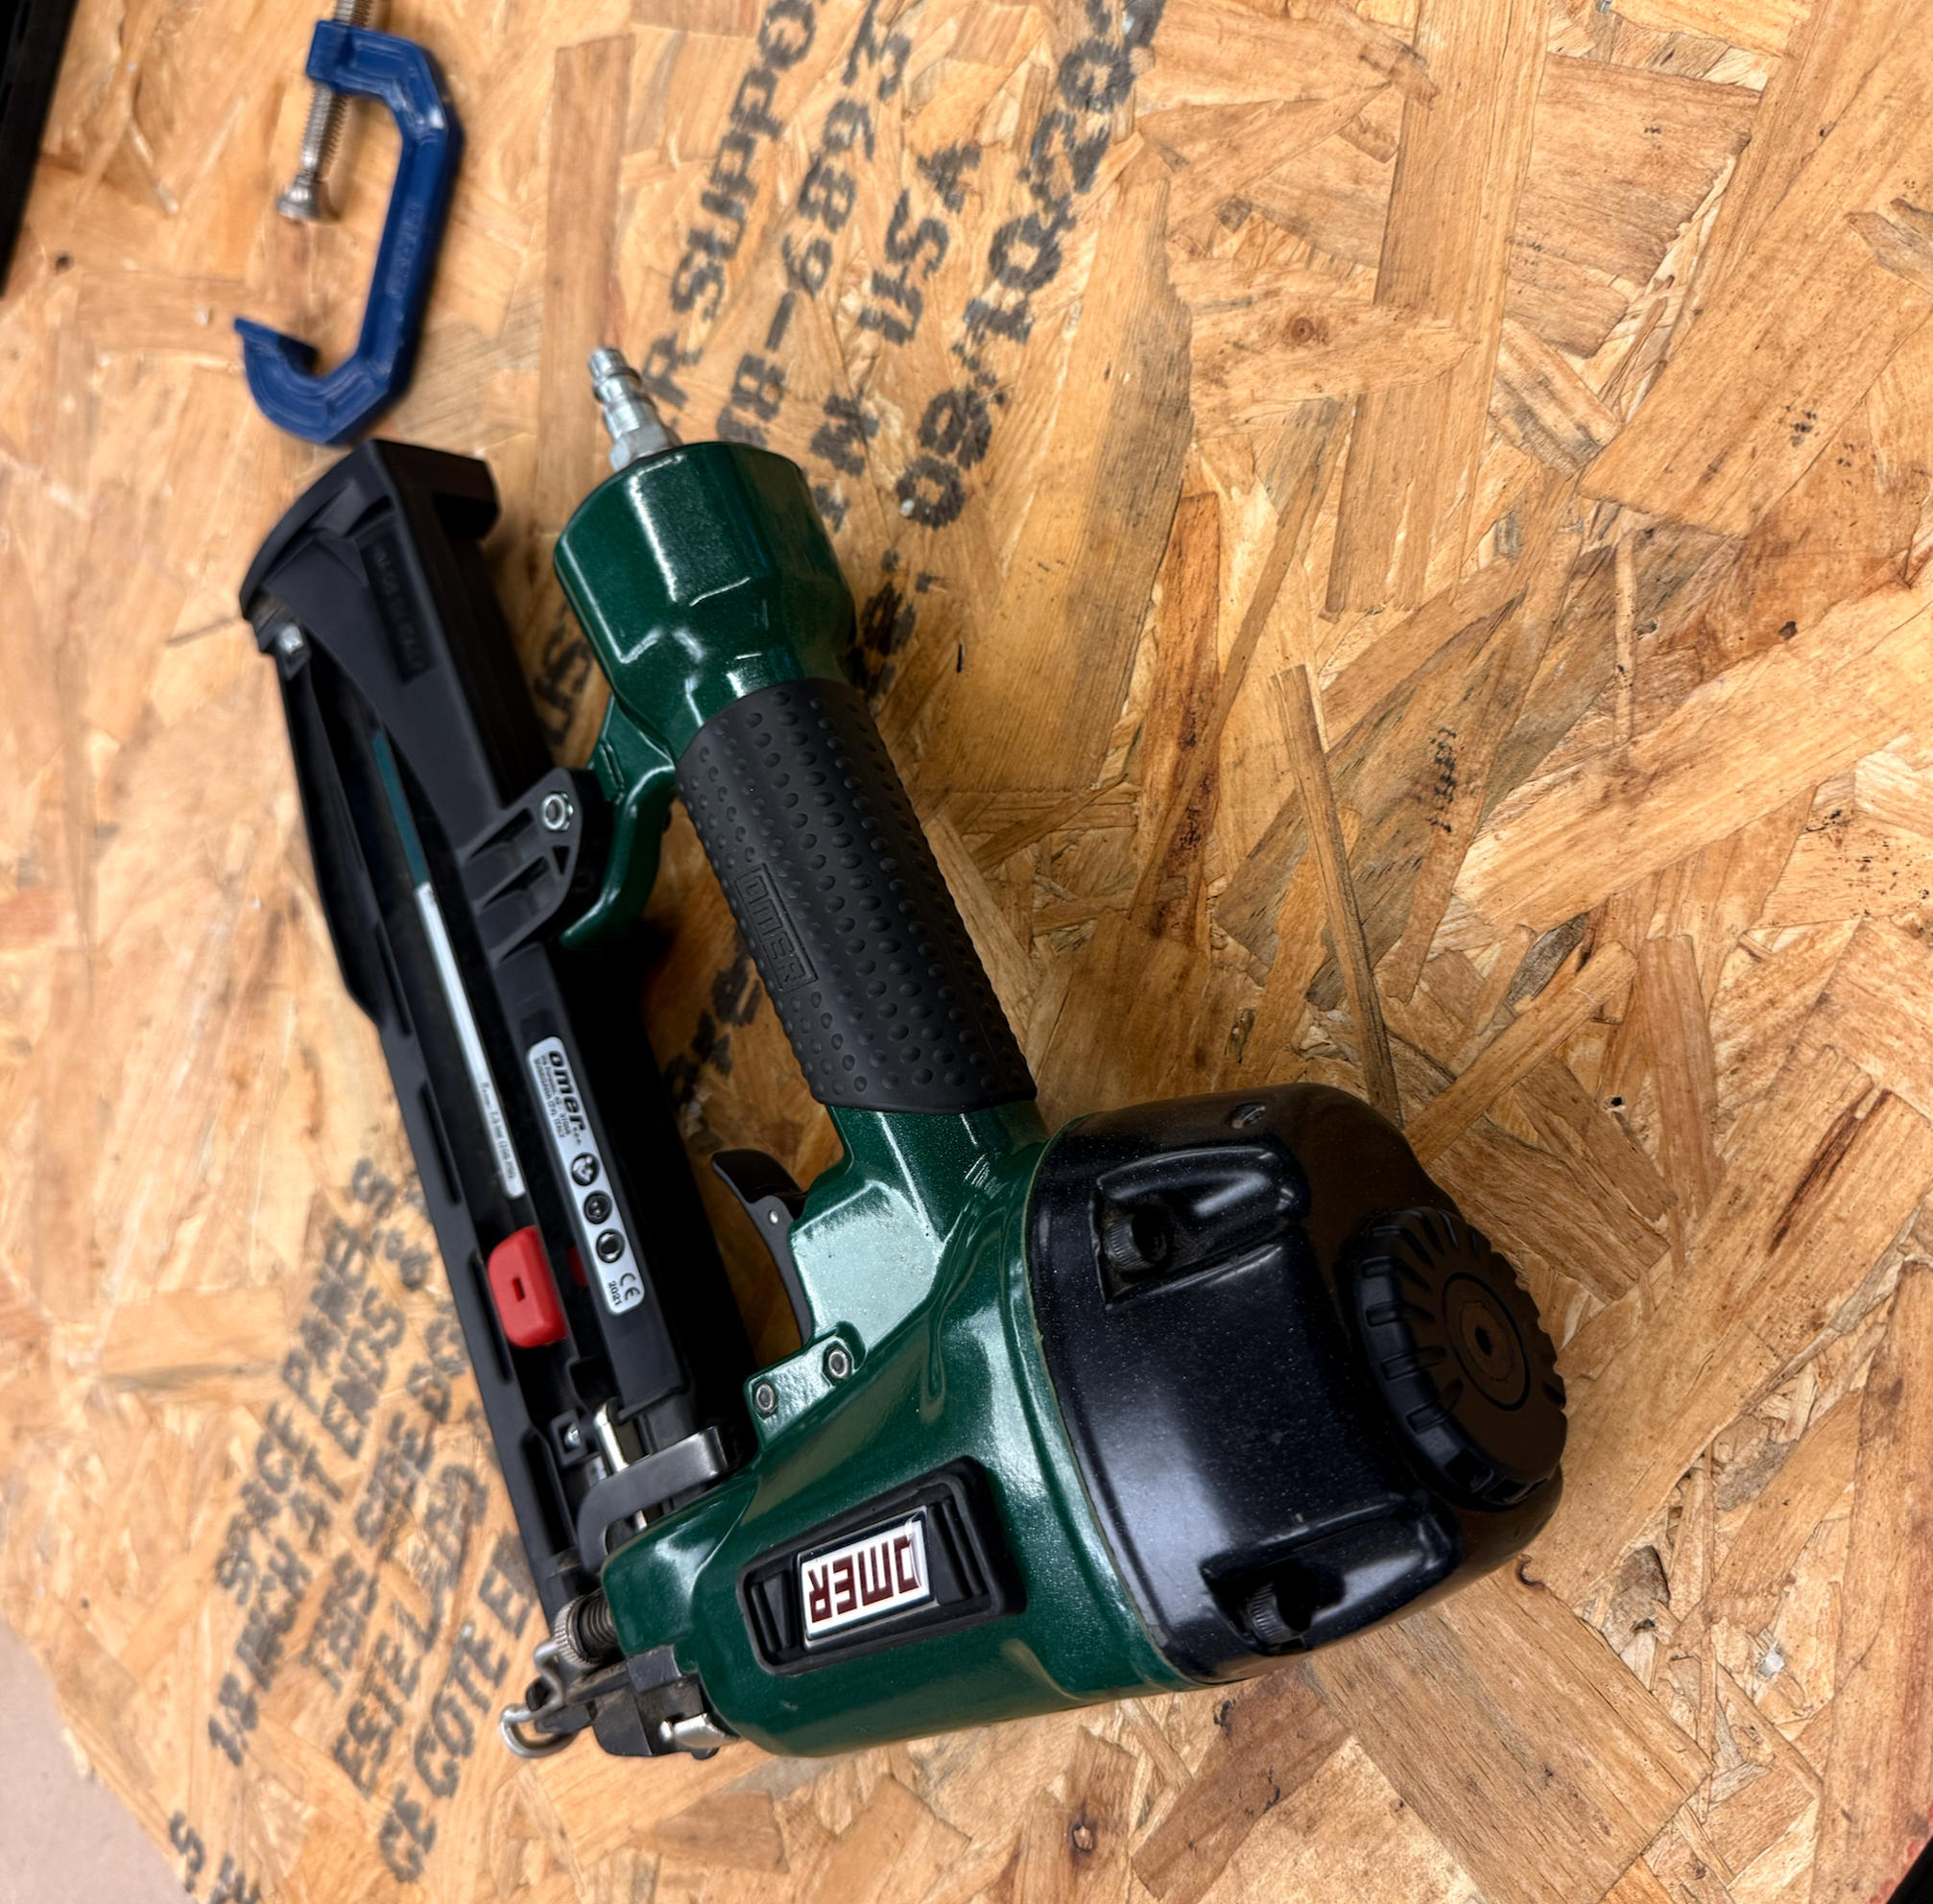
Shoots plastic nails connected to an air tank.
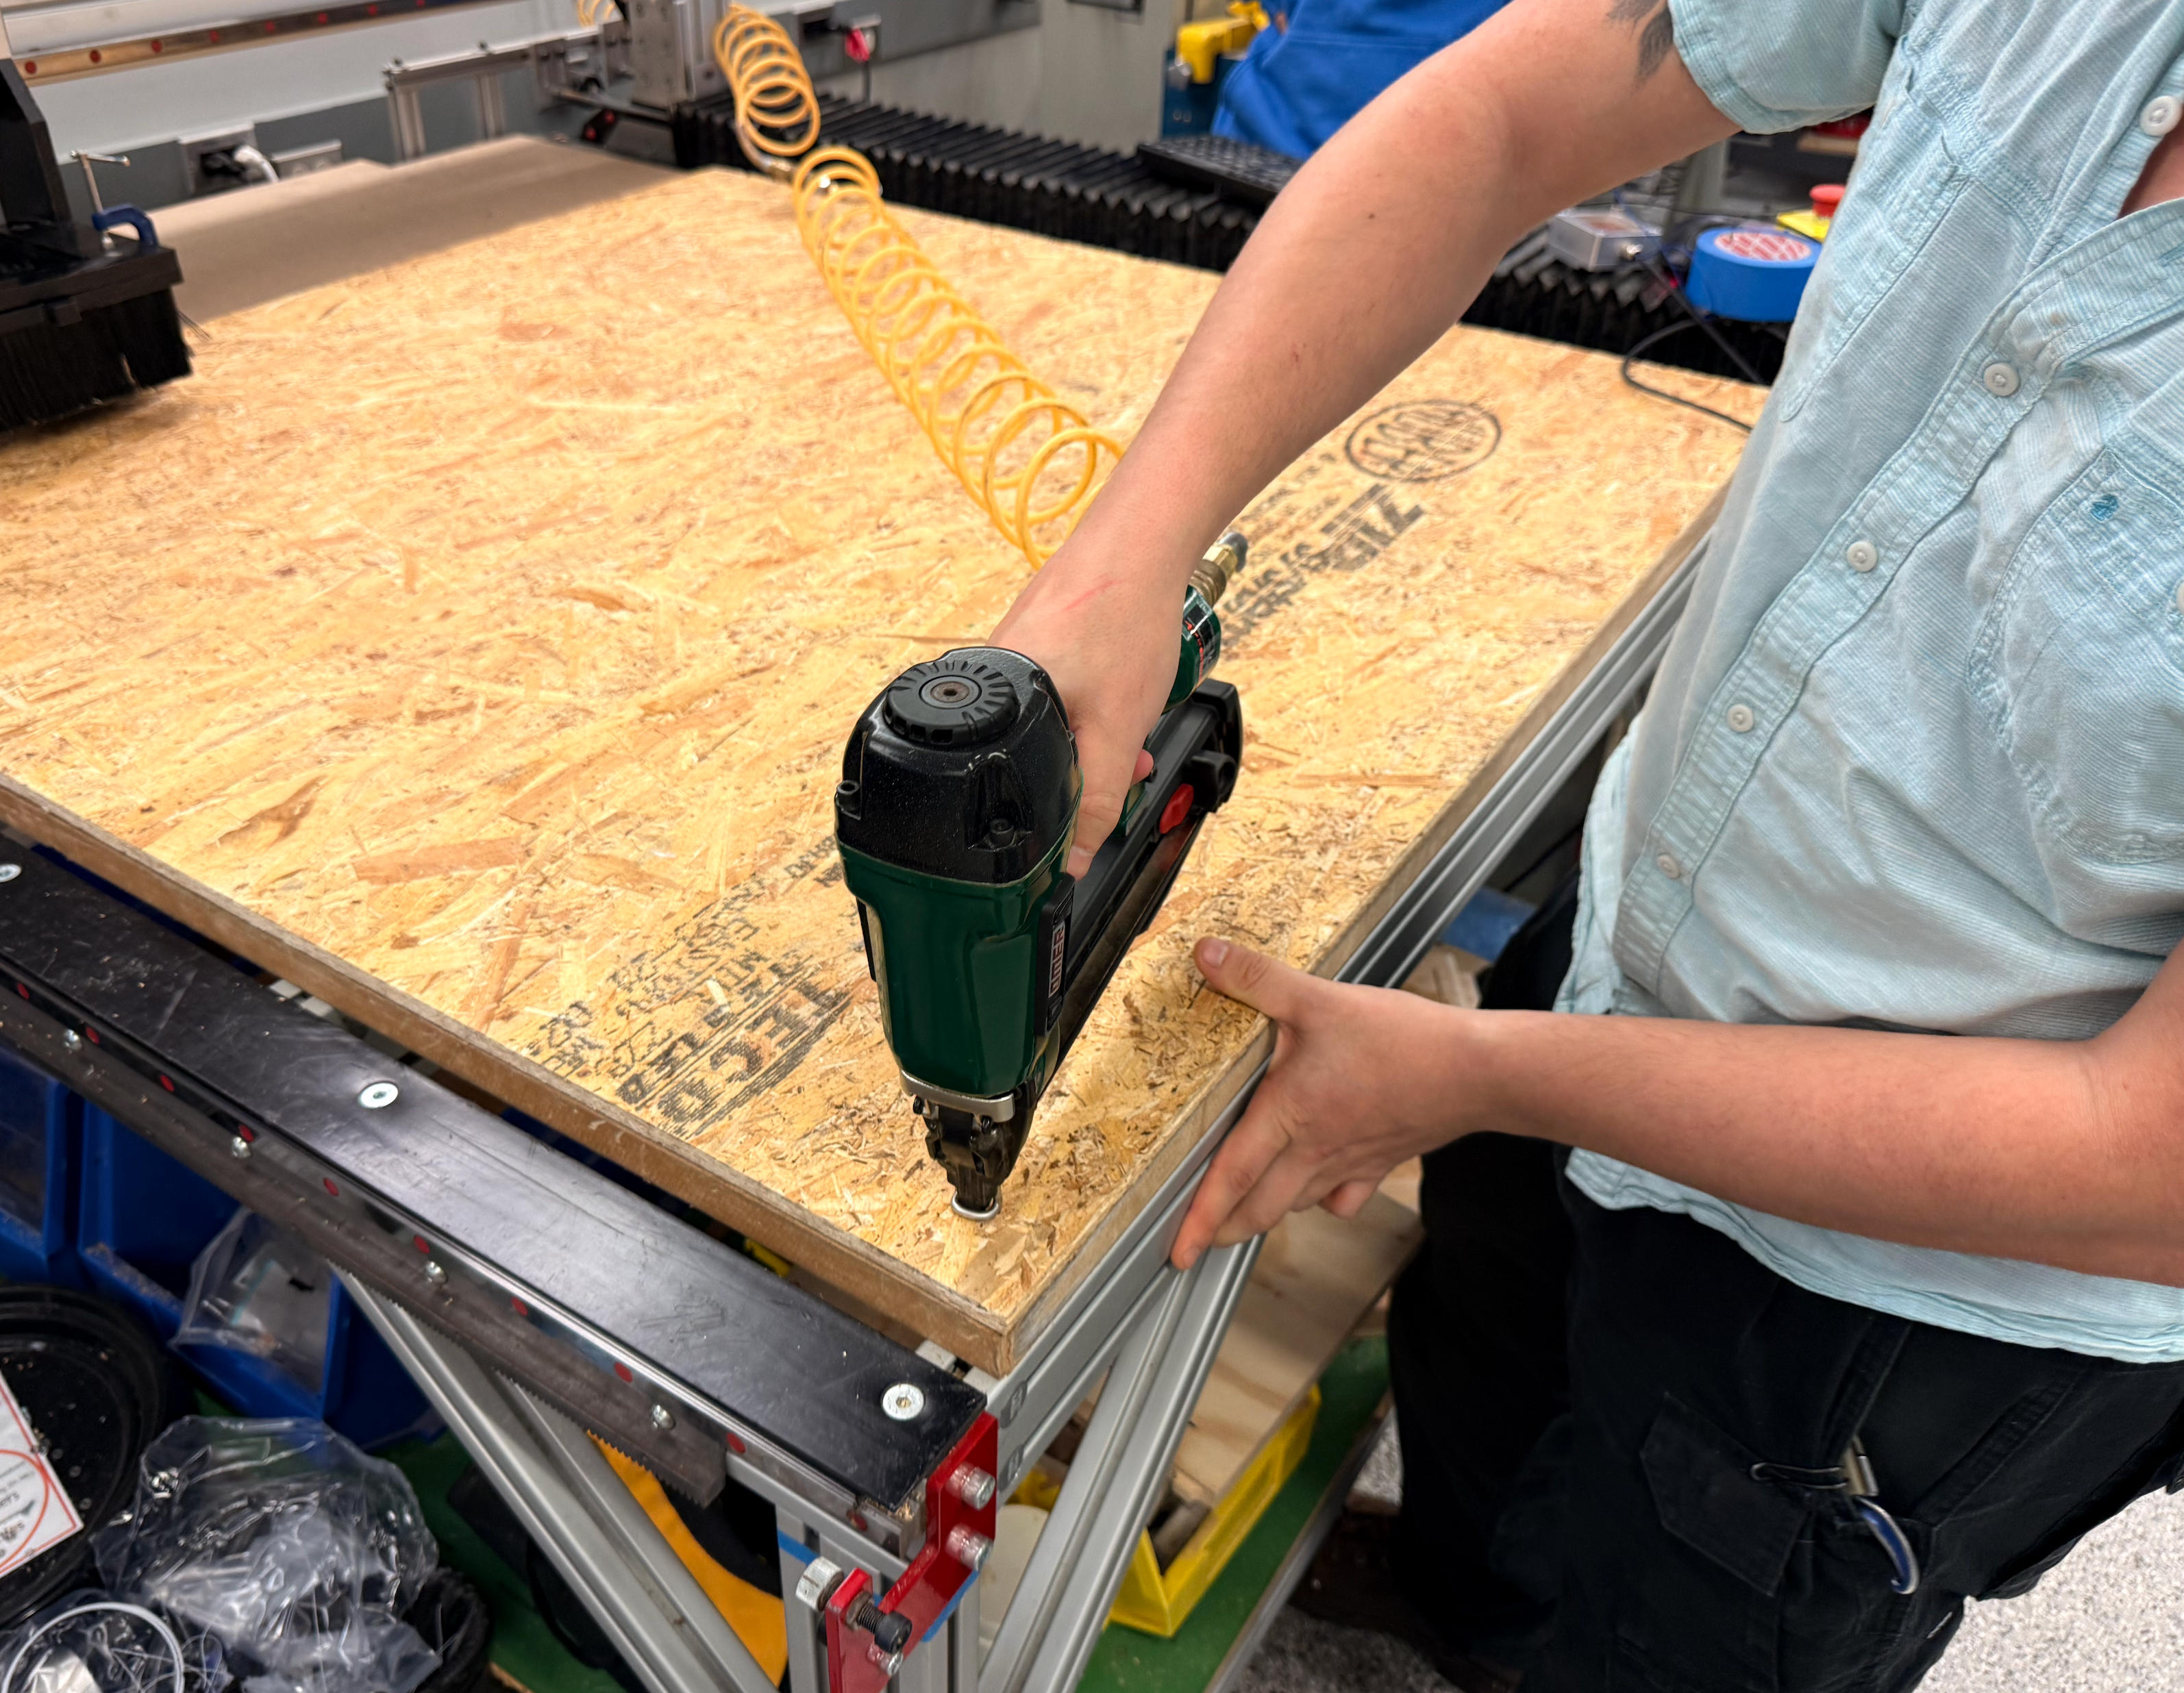
Never aim at people. Don't come too near the gas vent. For standard OSB, 7 rows of 7 nails per row is sufficient.

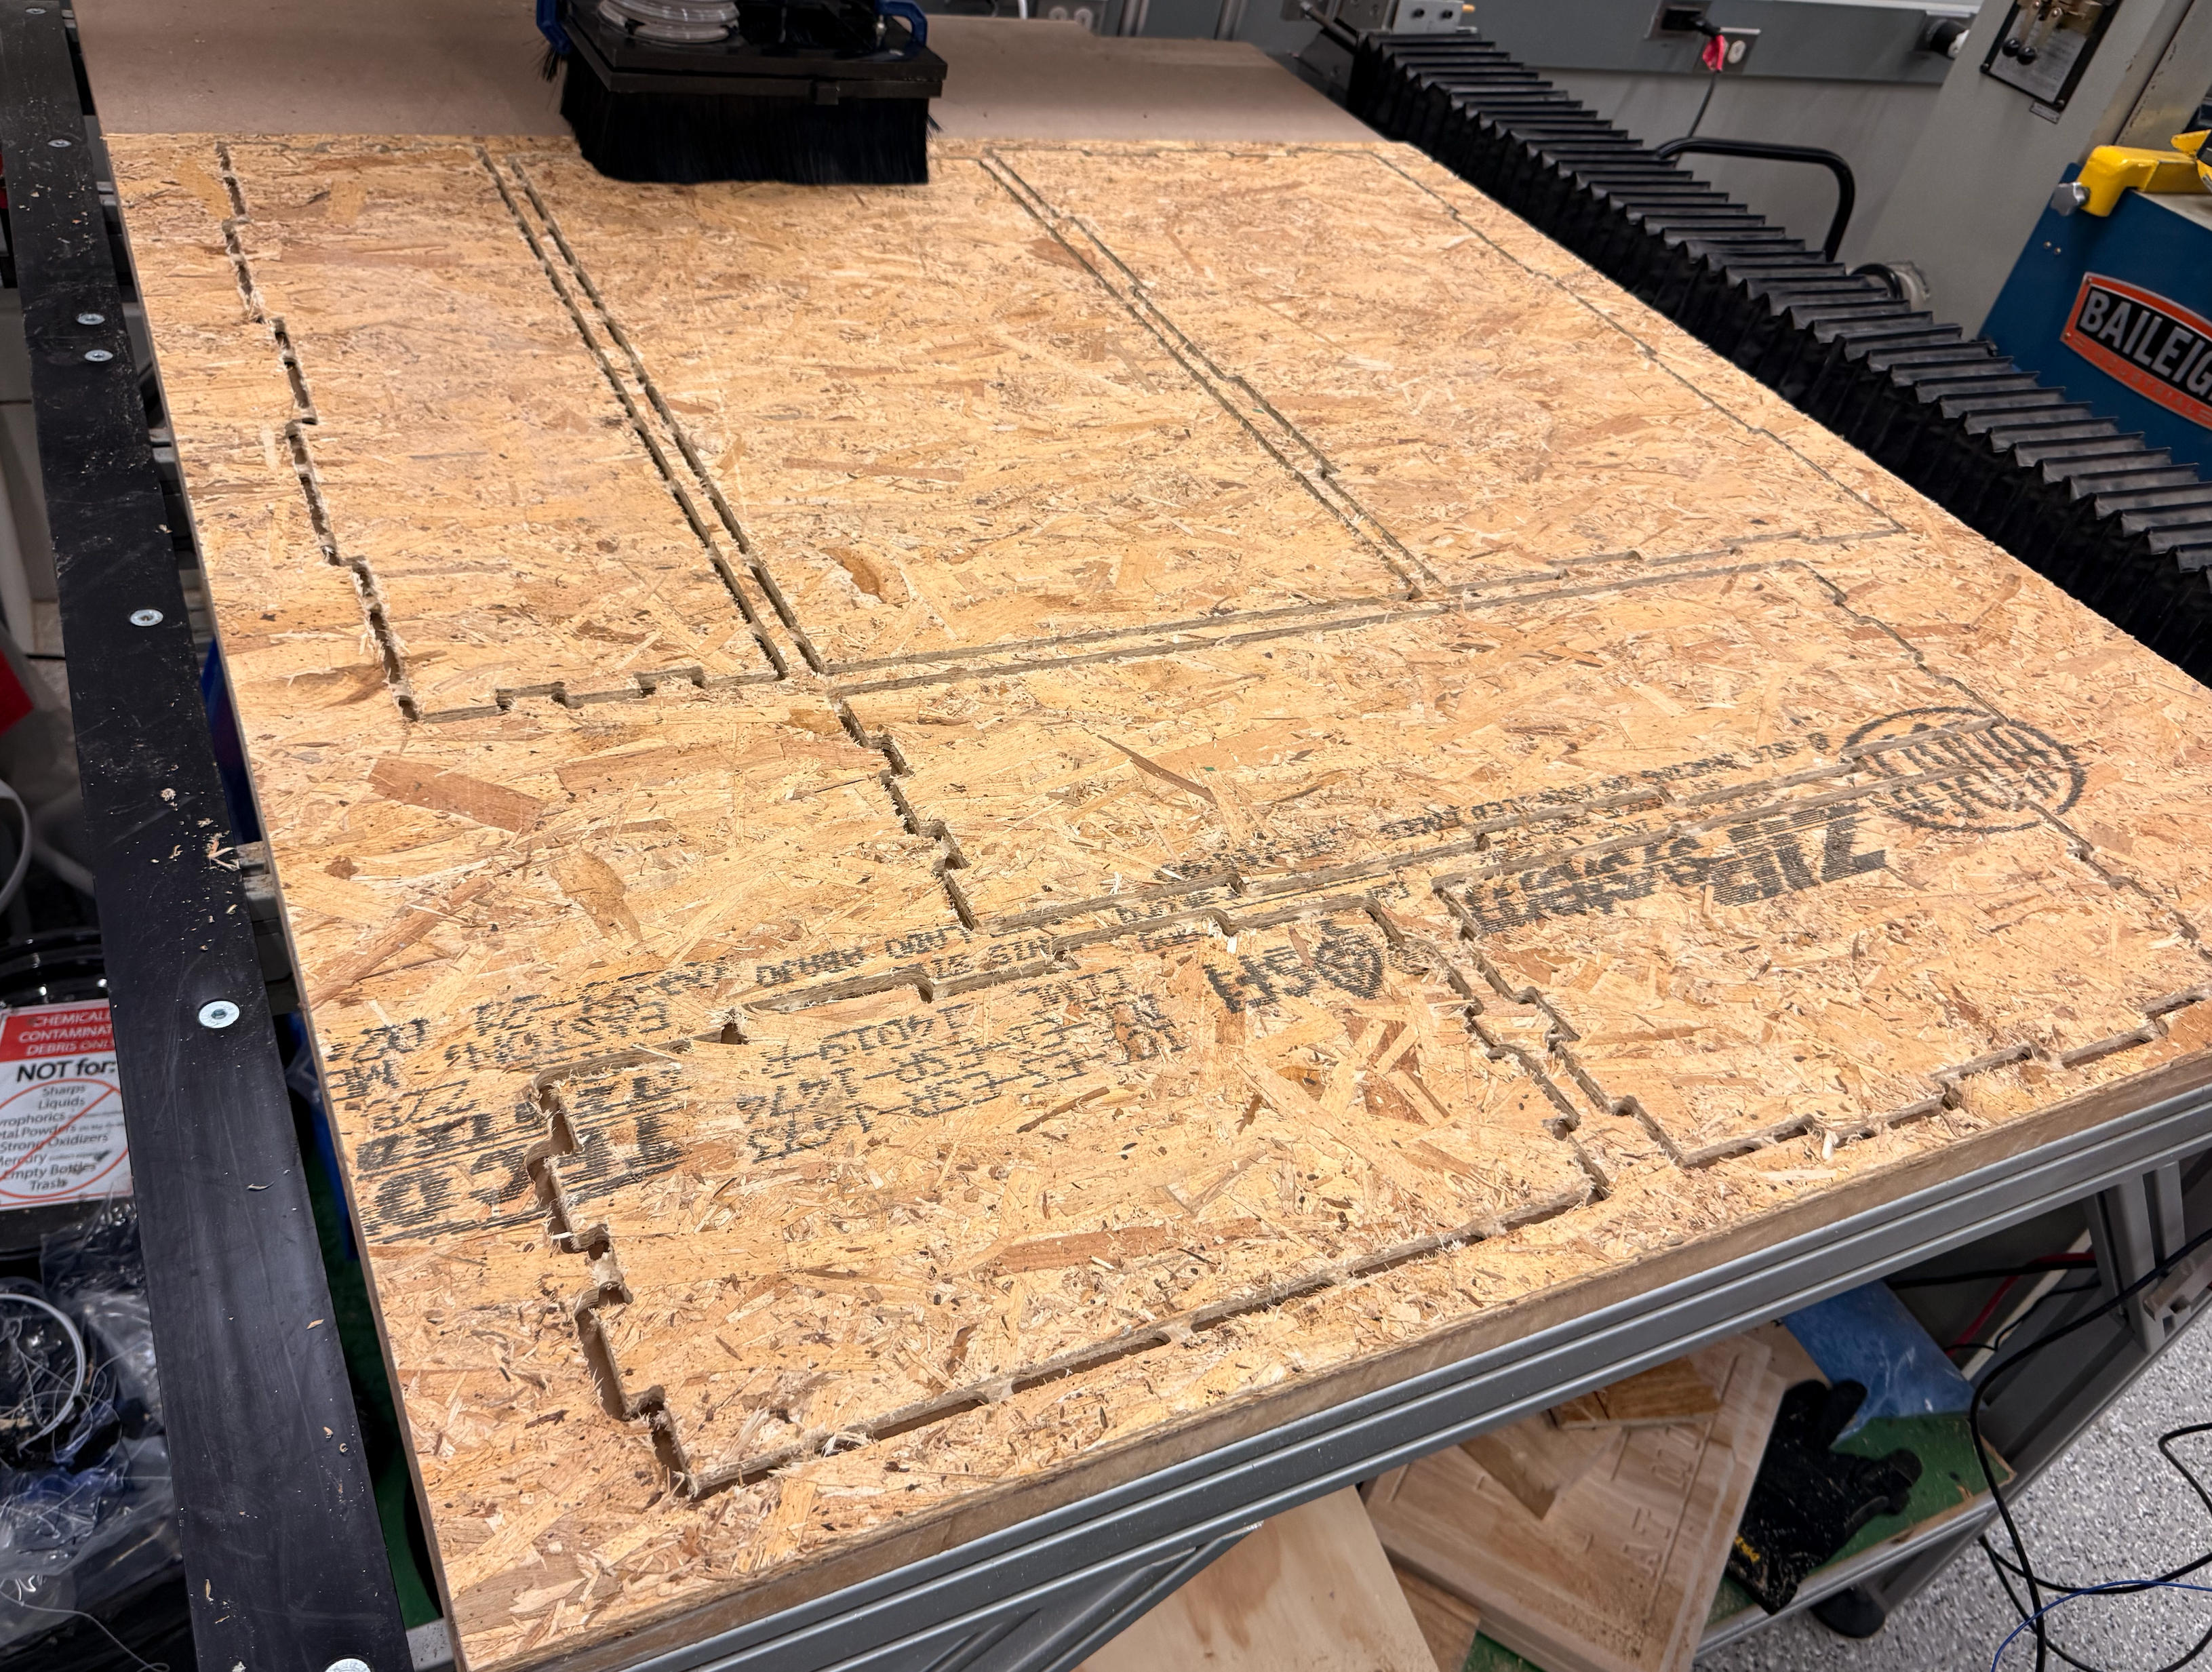
Machine must be calibrated before cutting begins.
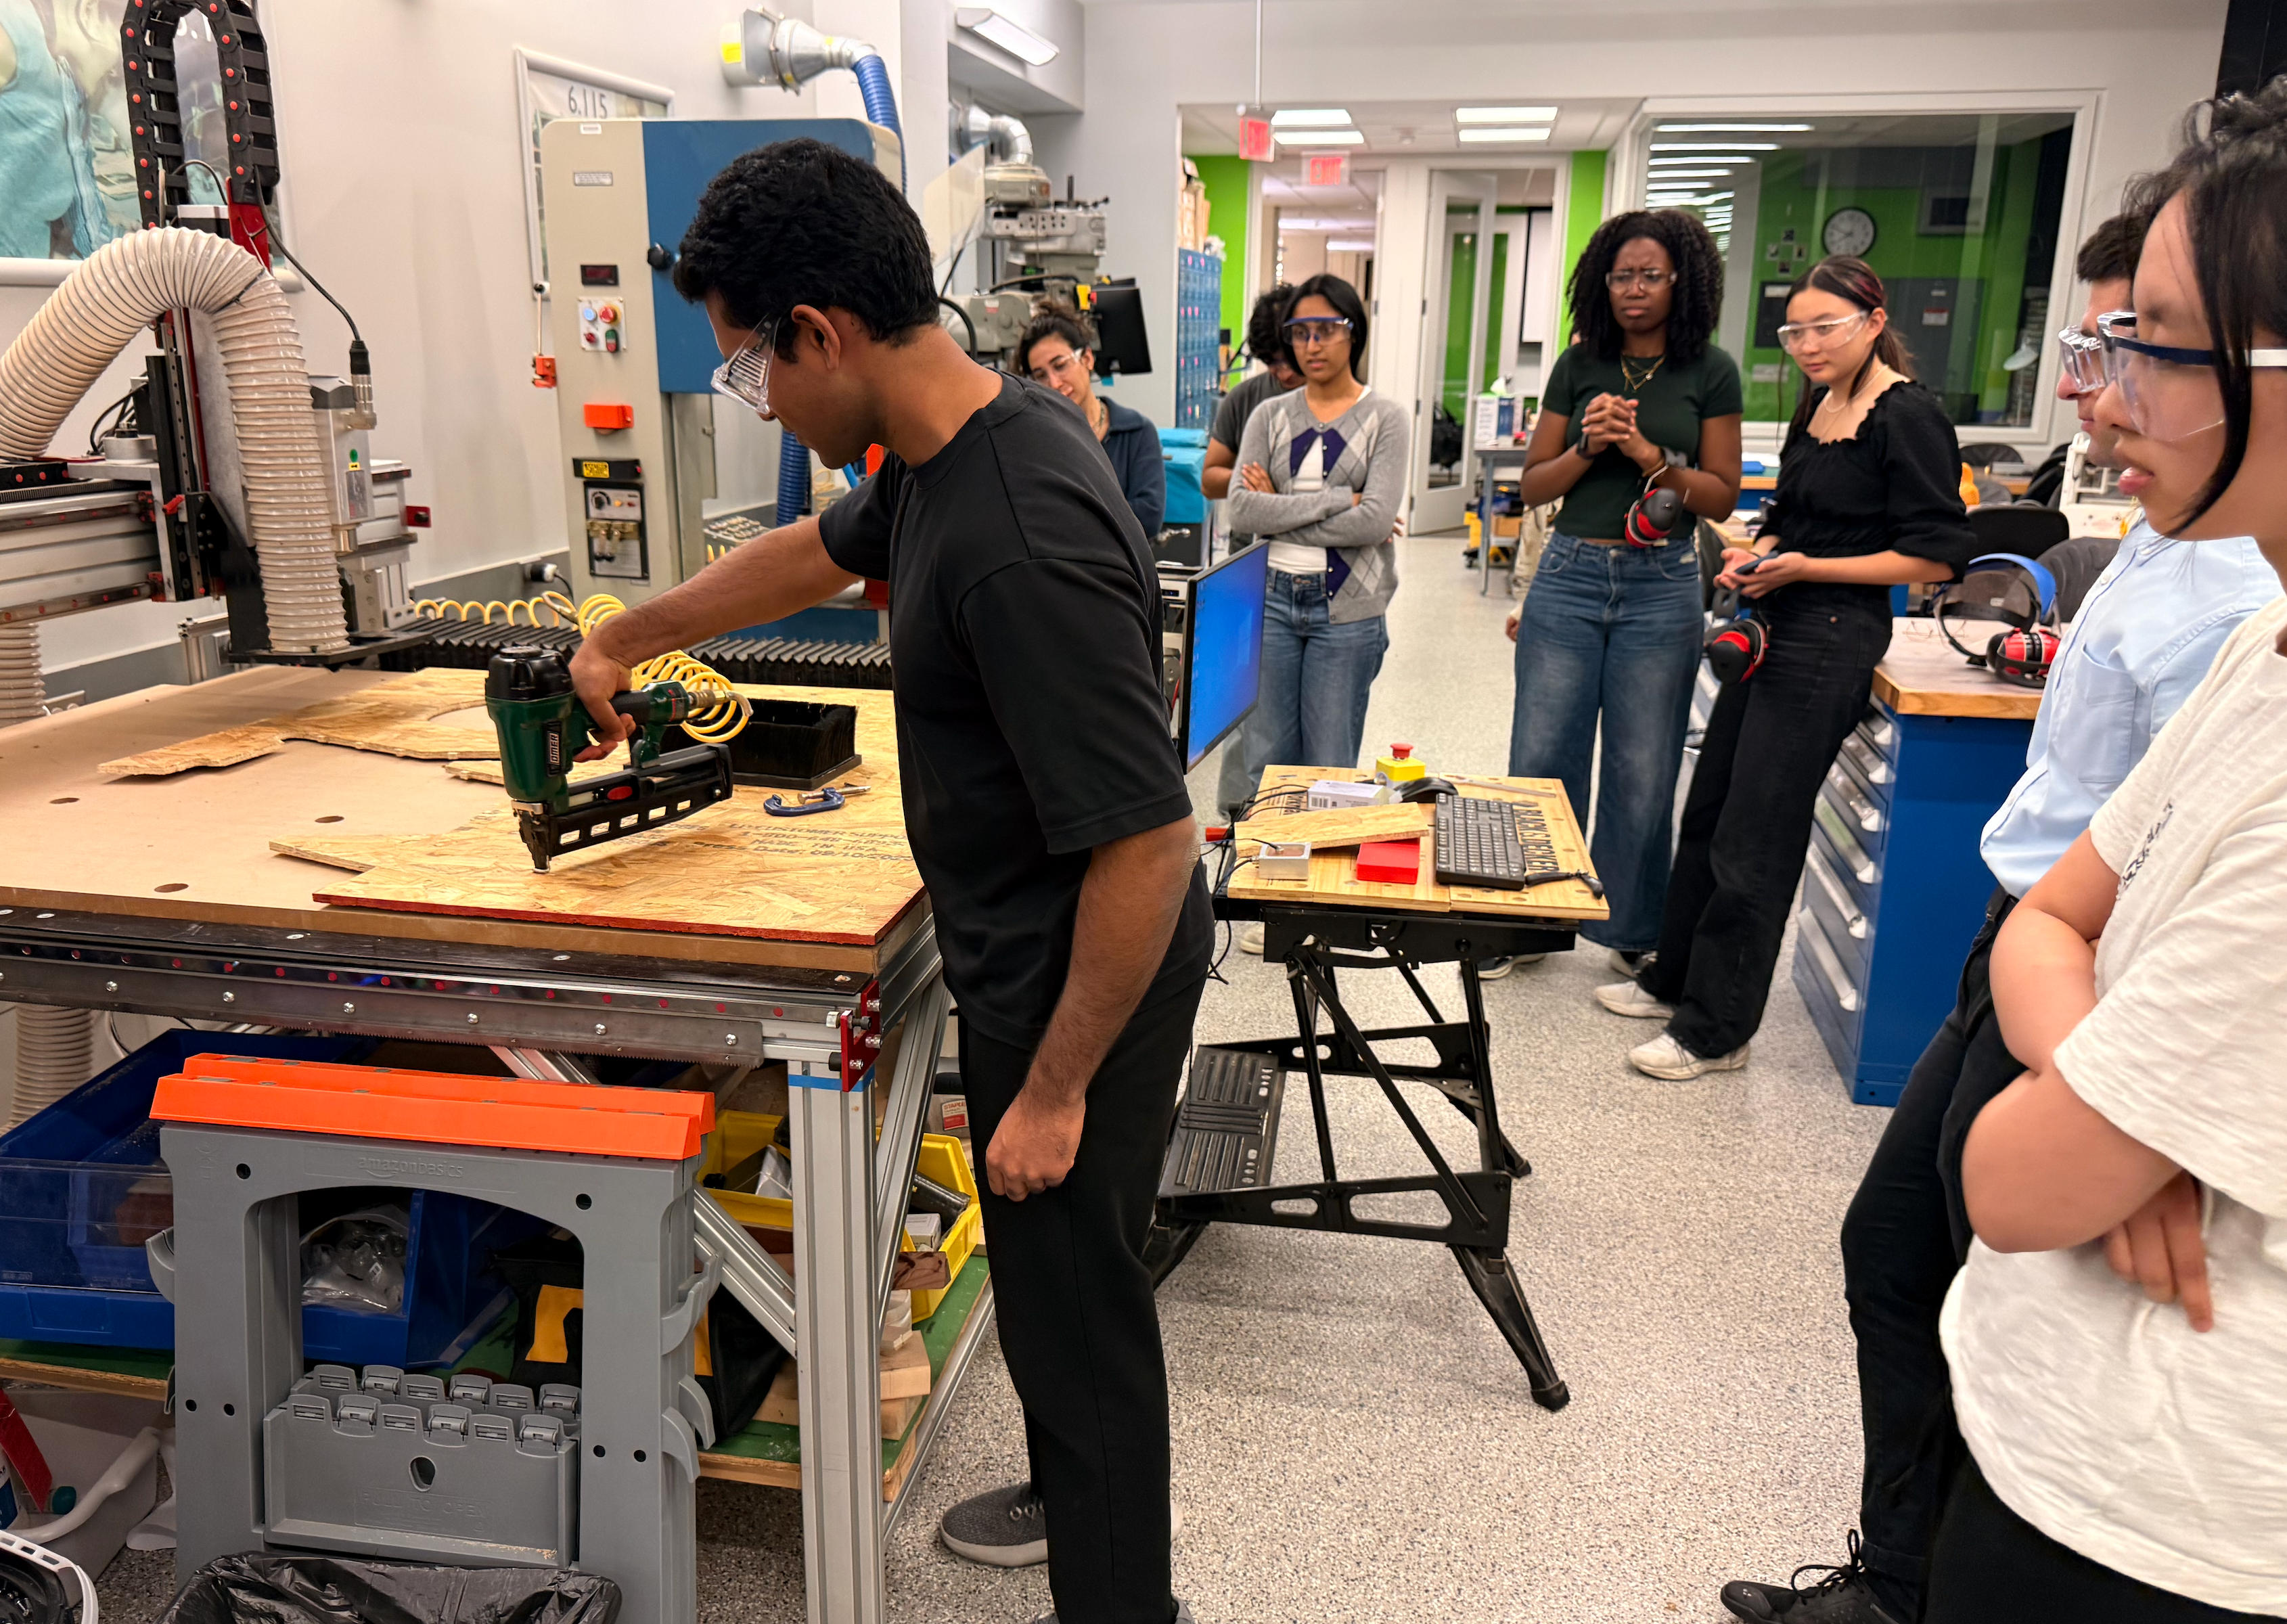
From Cutting to Assembly
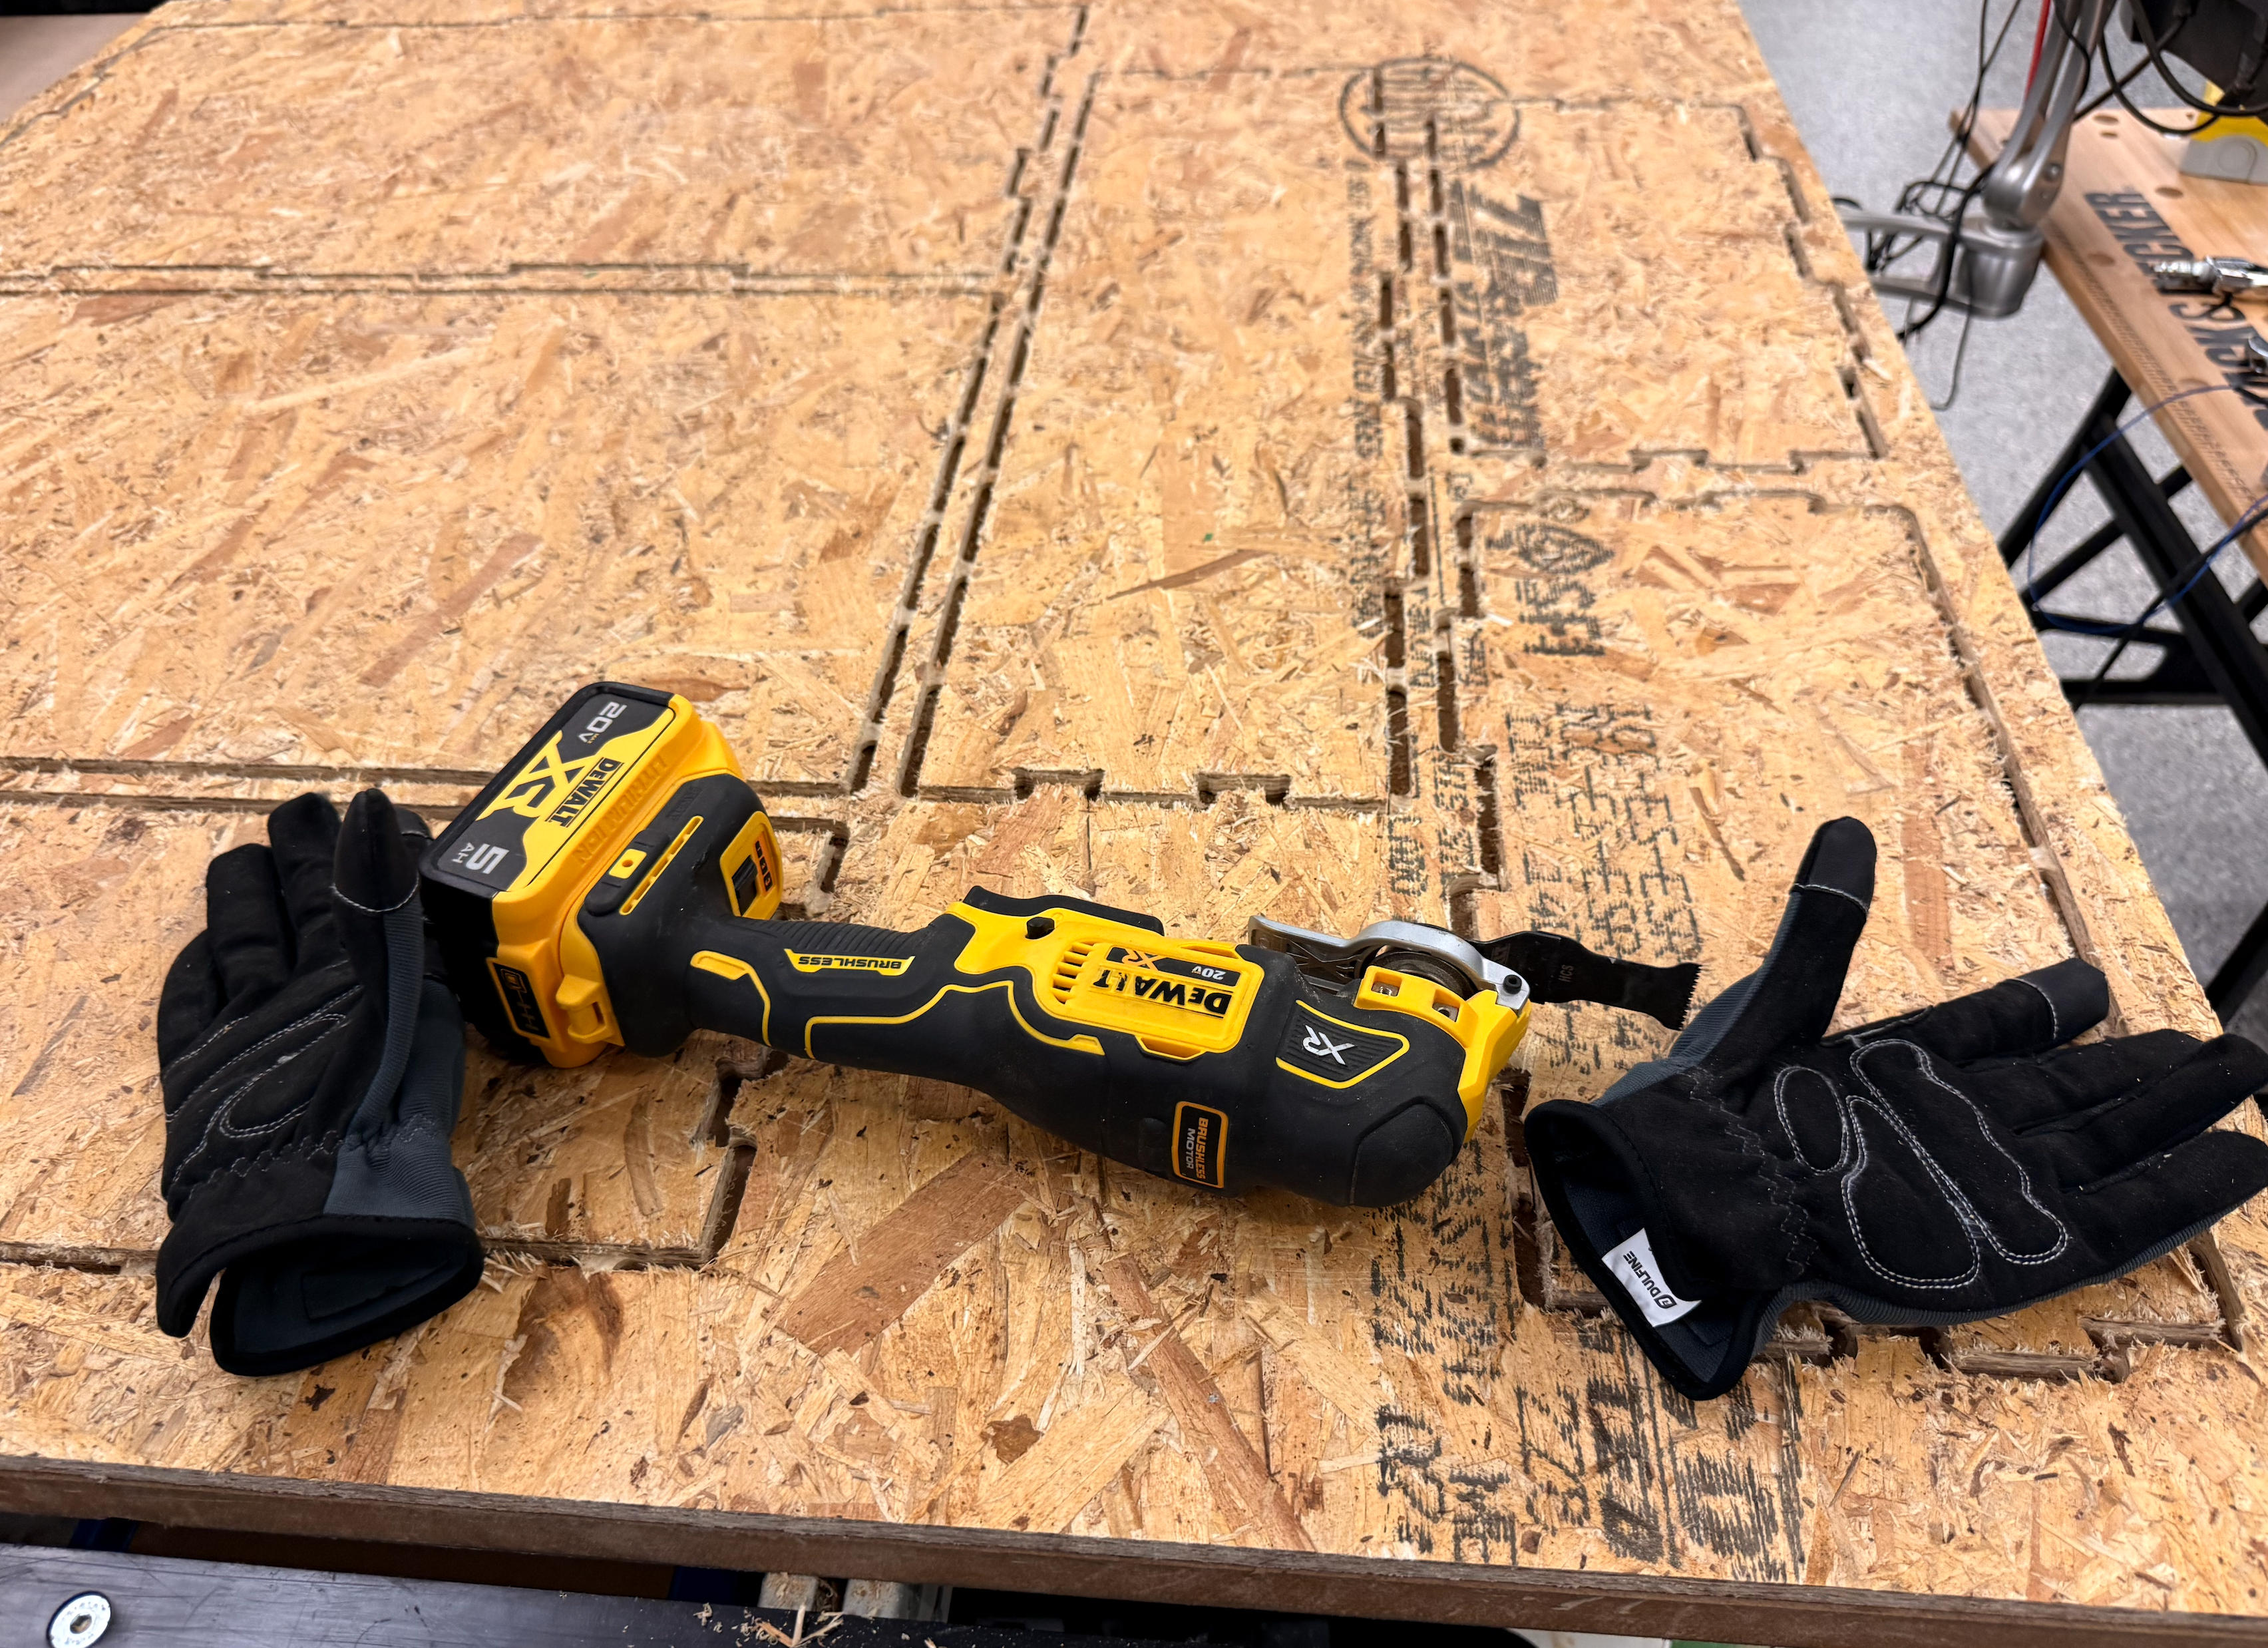
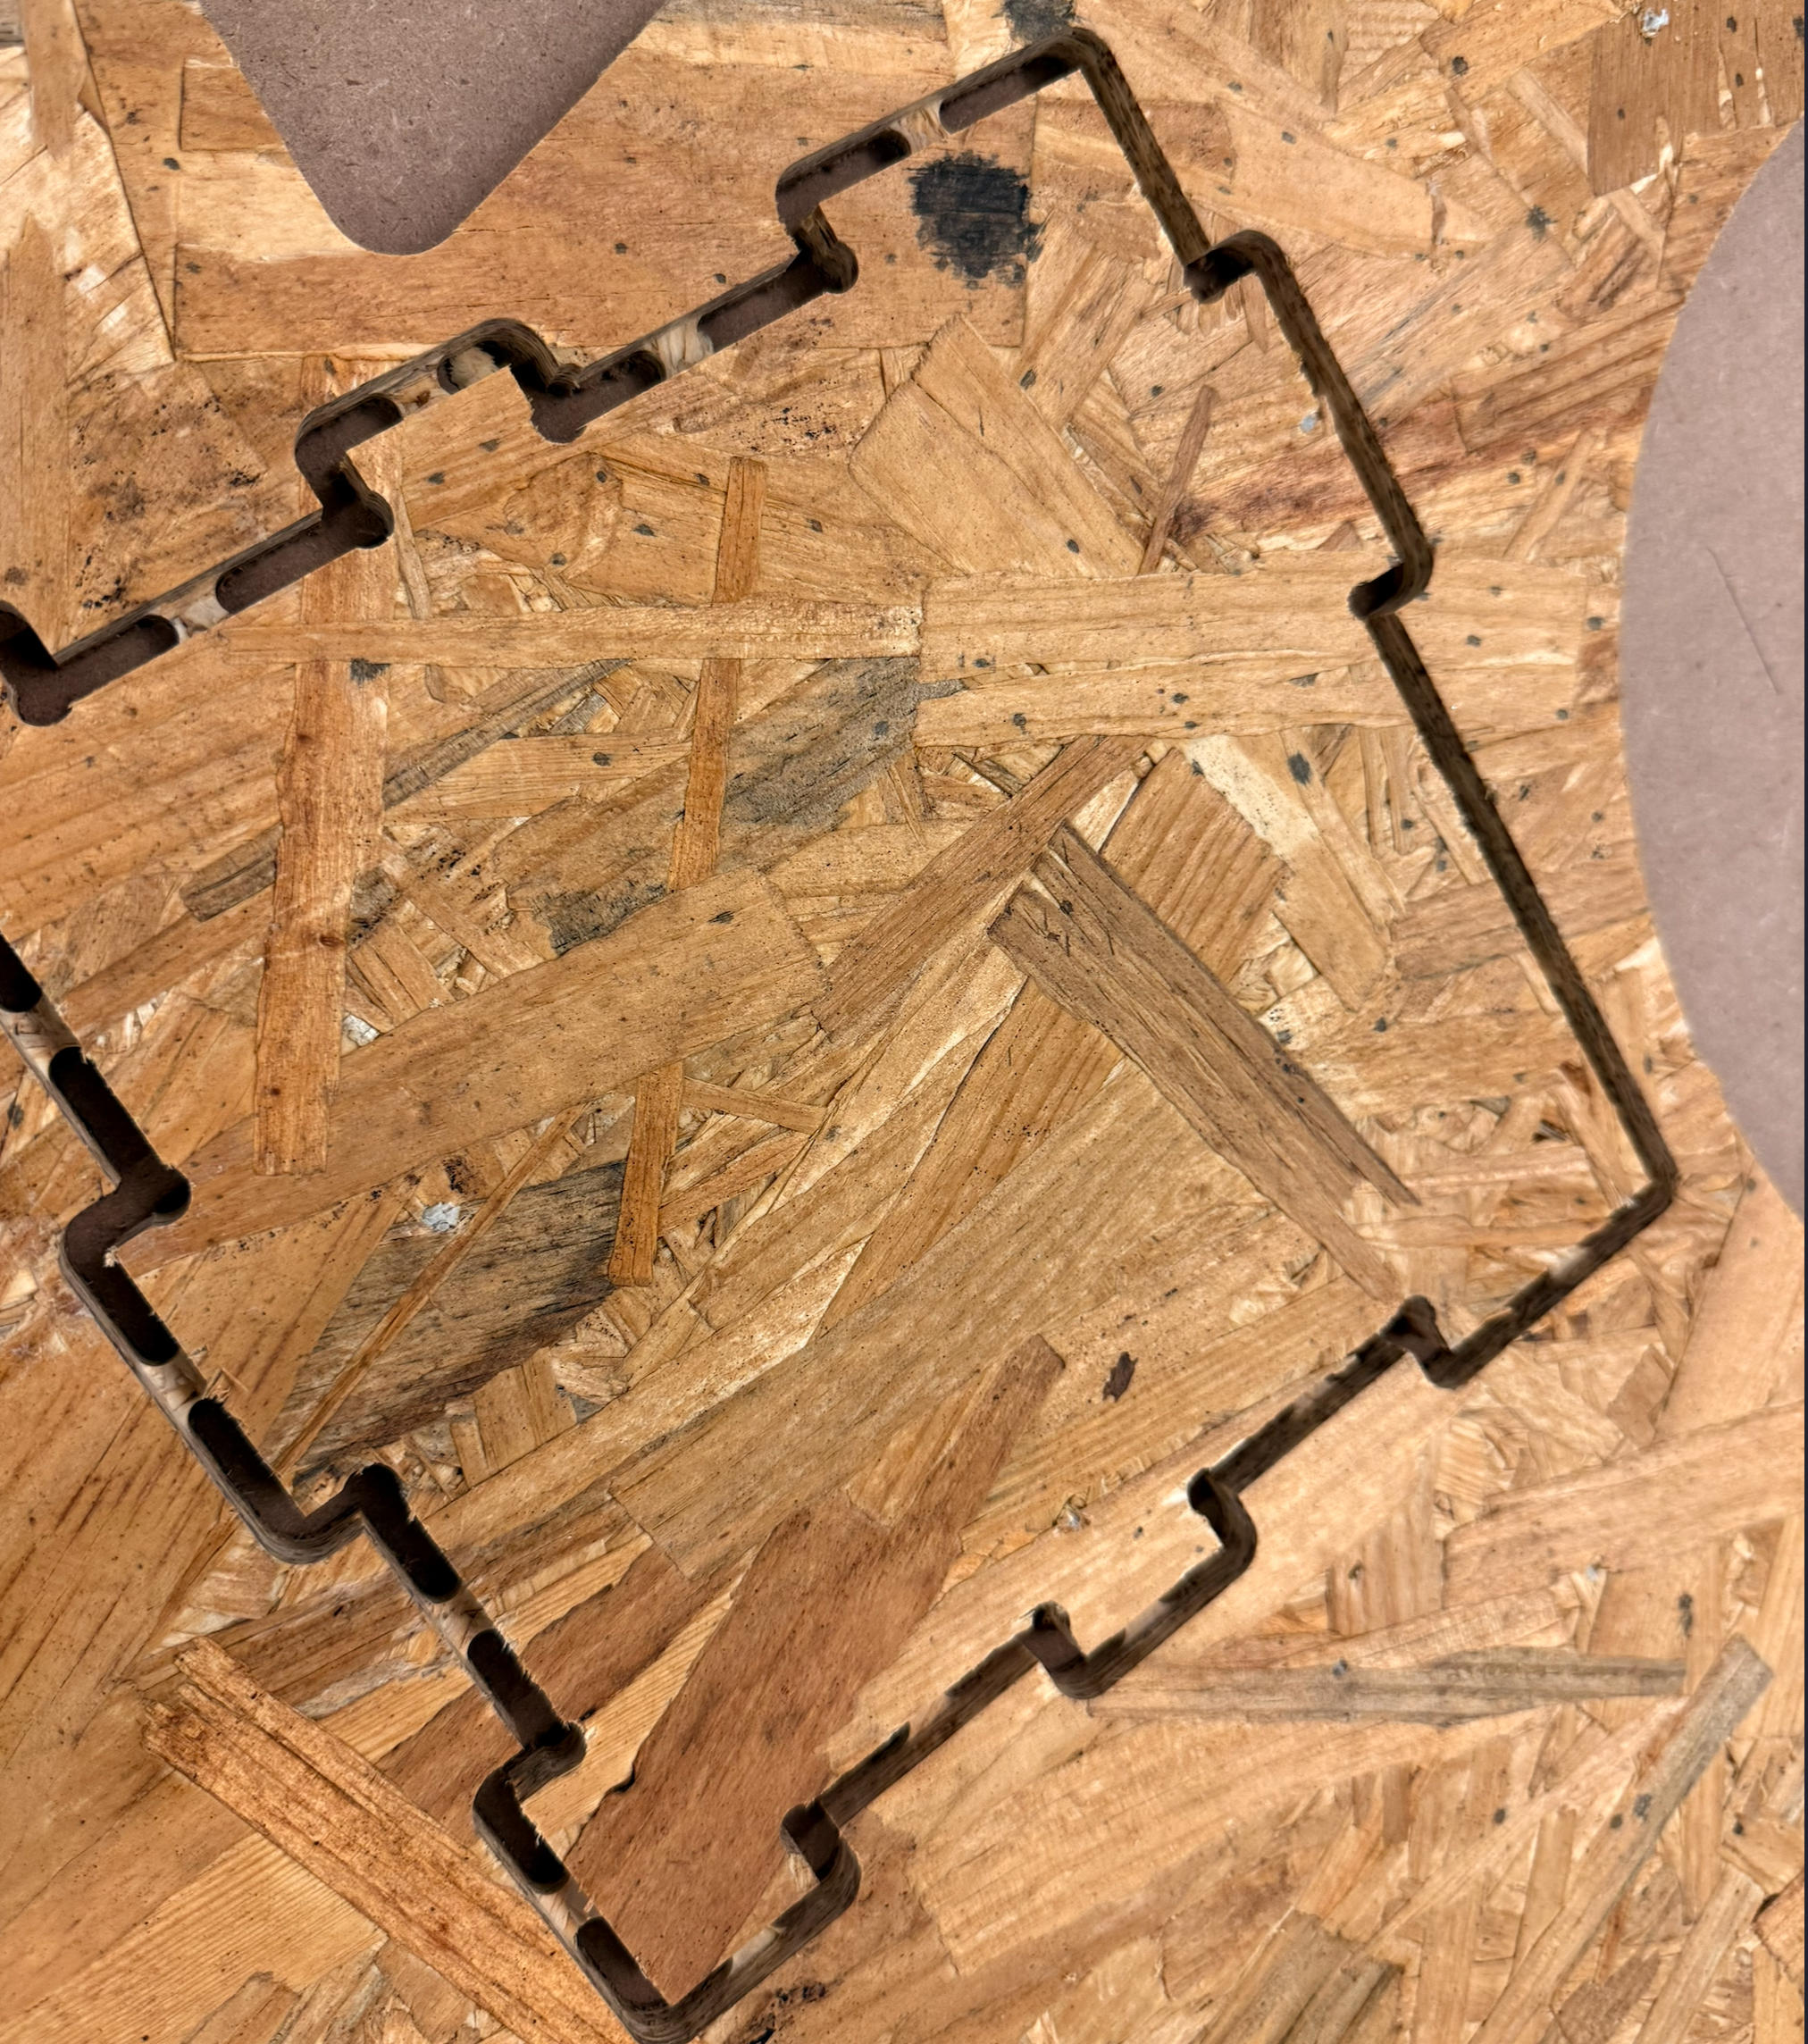
Using a brushless cutter to remove tabs from parts.
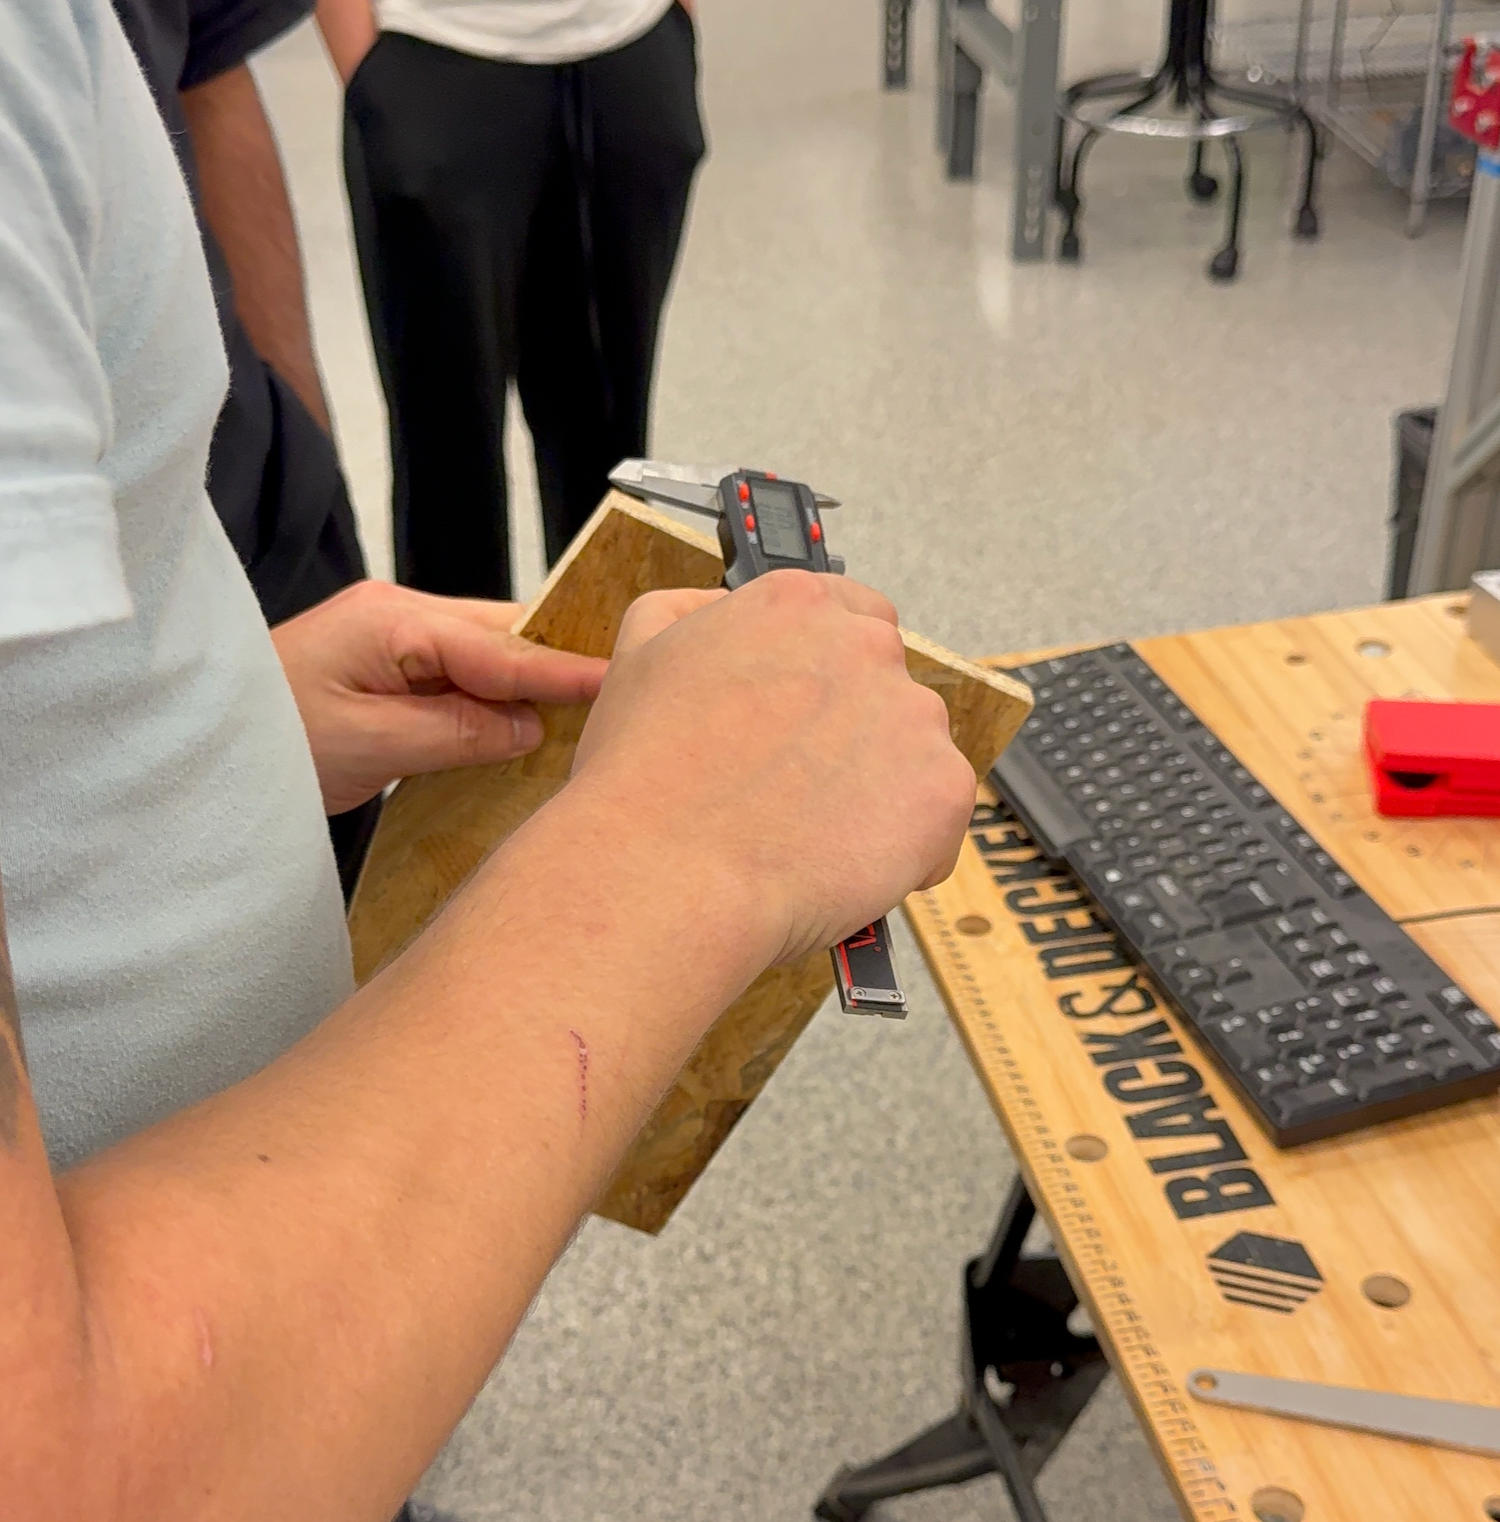
About an hour of filing gets all parts fitting perfectly. I realized the drawer was 250% bigger than intended—I had entered measurements in cm when Fusion was set to inches!
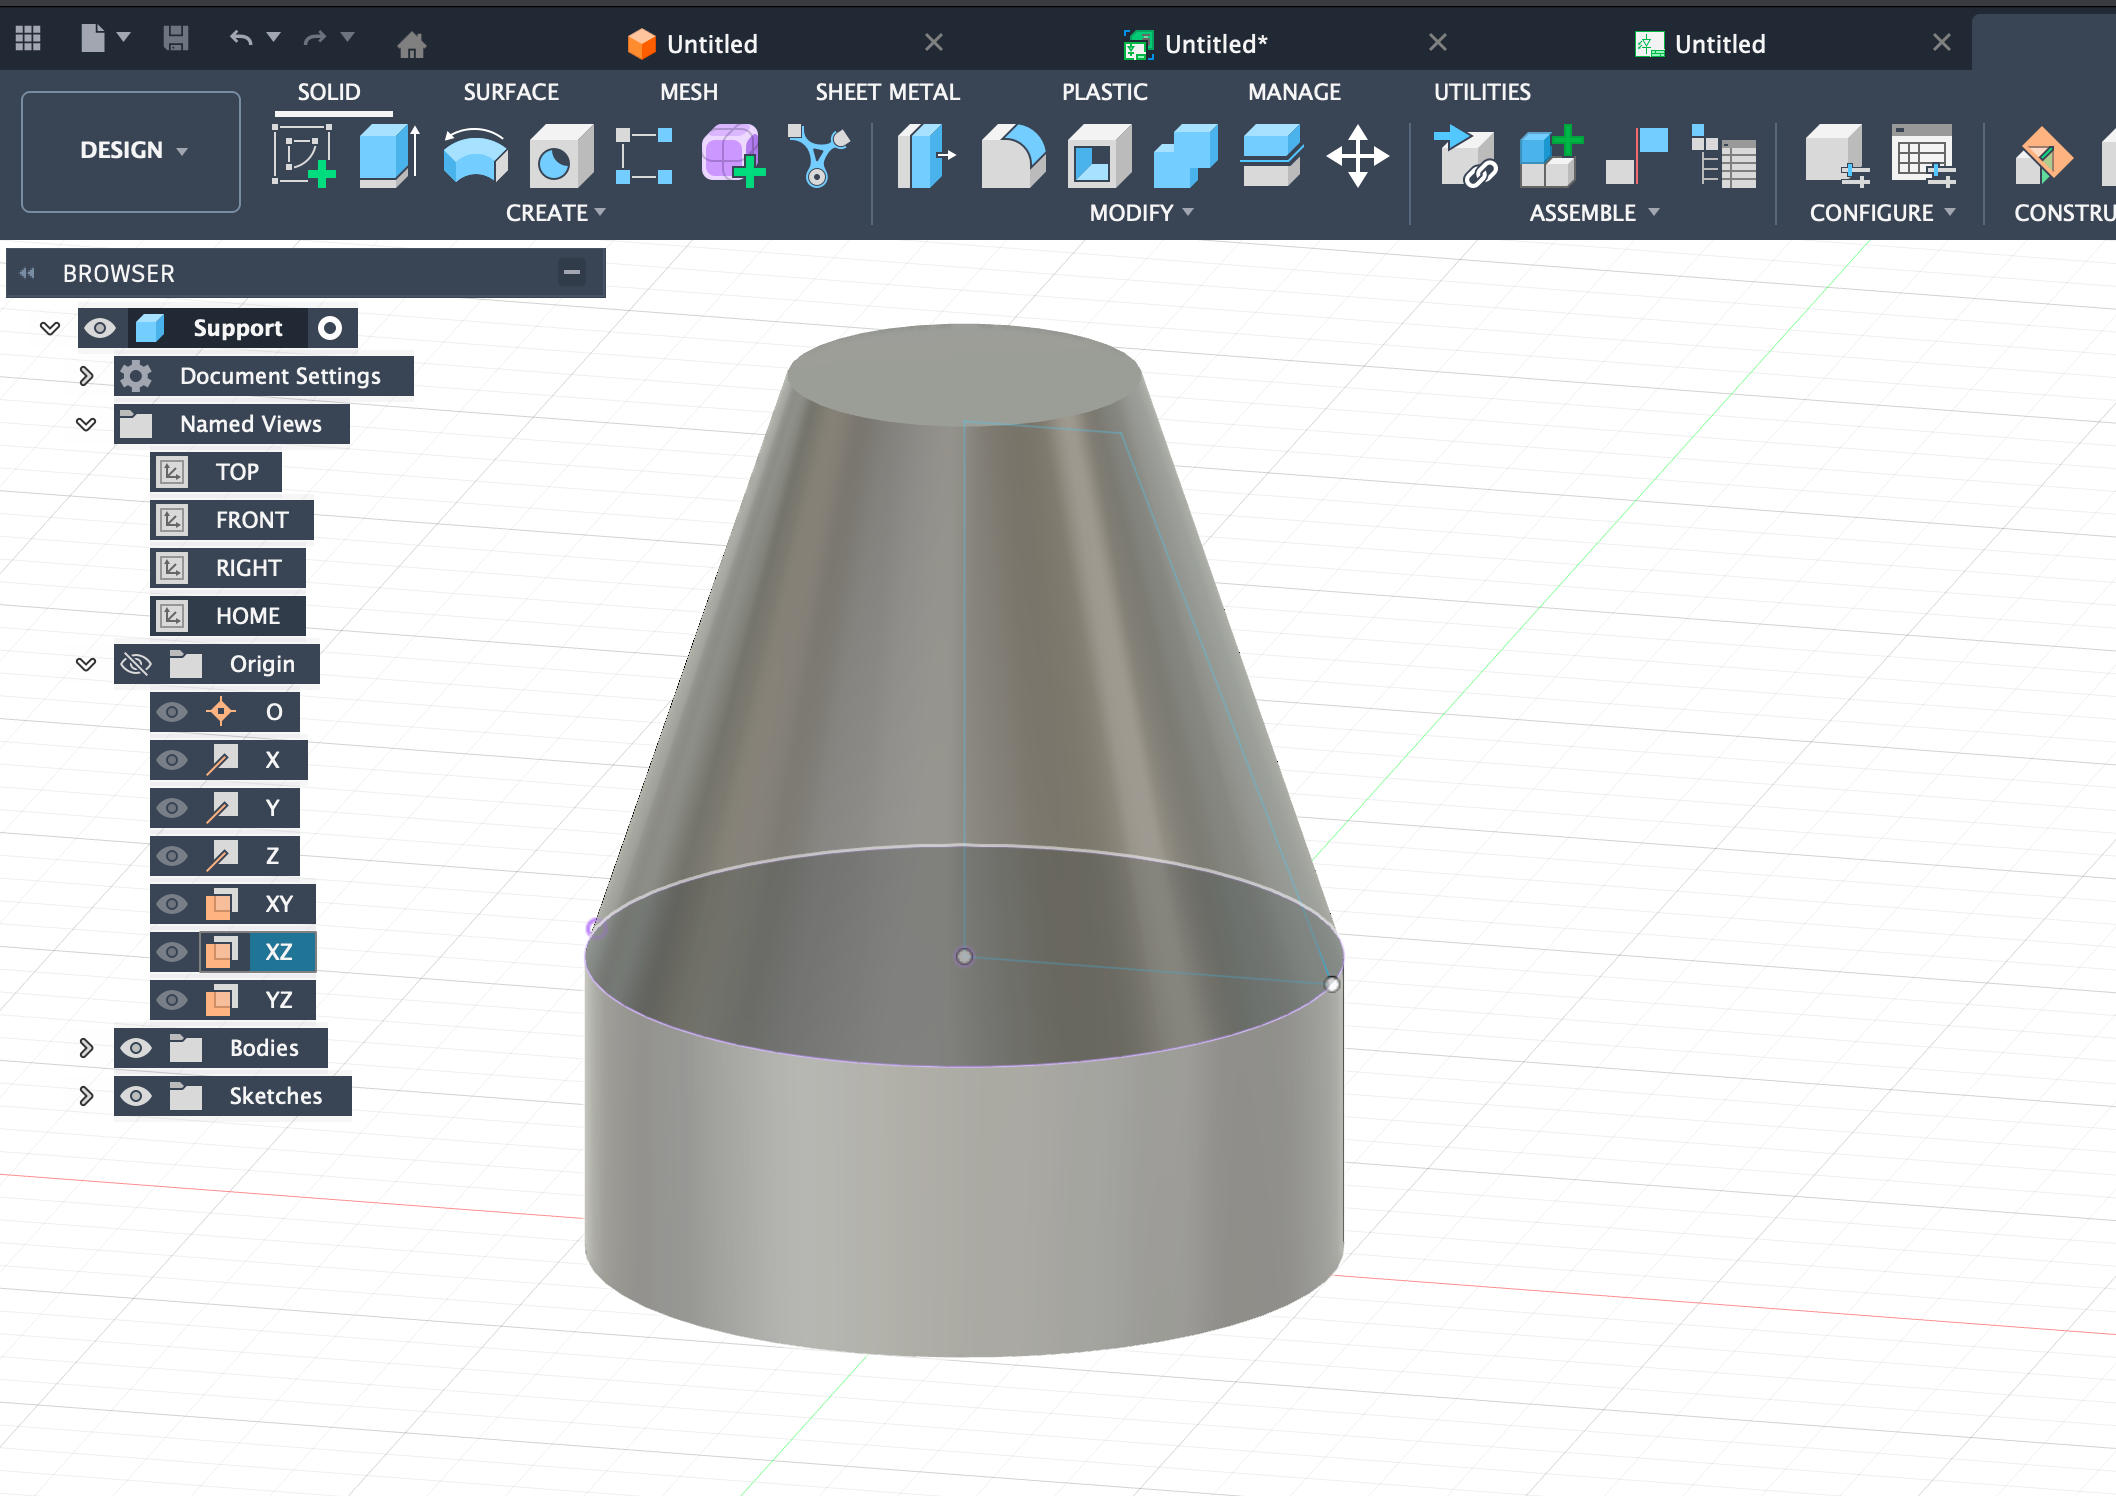
Support that goes between the bottom and upper panel.
CNC Cutting in Action
Final Result
This drawer is one essential part of my final project.
File Downloads
Support File: Download
Drawer Design File: Download